Well, hello. It appears that it’s been seven years (!) since we completely tore out our backyard and had fresh landscaping done. Now that everything has matured, I thought I’d share how things have settled in, what worked, and what didn’t.


Hi friends, just a quickie here. I recently hosted a night of crafting for a couple of close friends, during which this picture was oh so surreptitiously snapped.
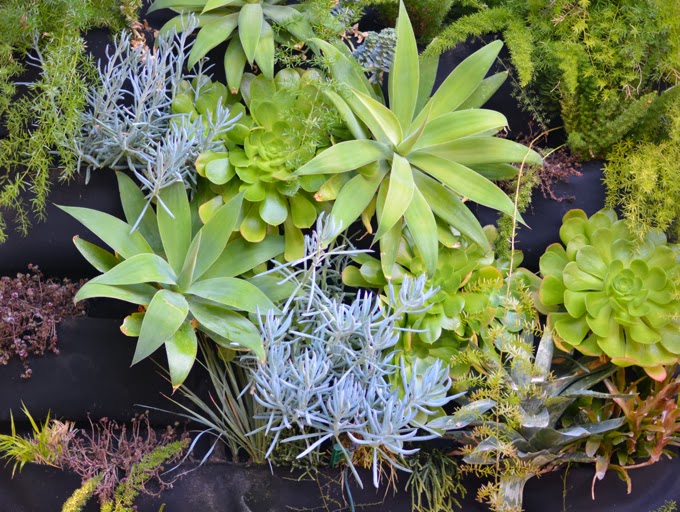
That’s our living wall, which we love very much. Looking at this picture, I realized just how much it has filled in and spread out in the last year.
Here’s the wall when we first installed it last August:

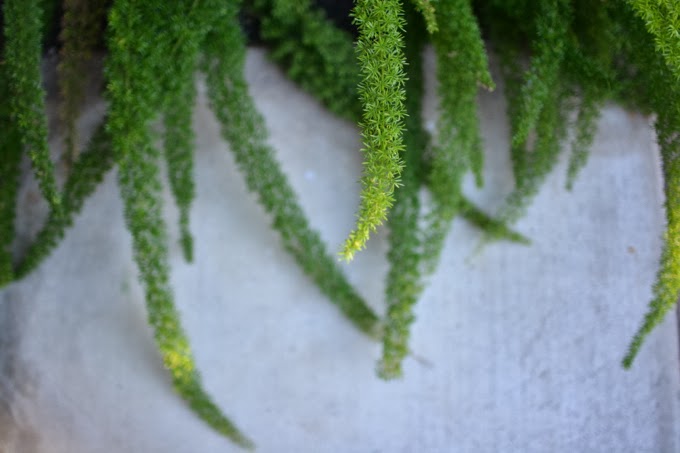
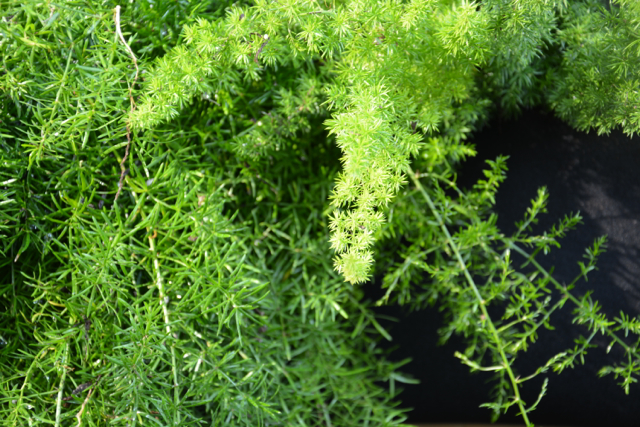
Nuts, right? Those plants were teeny tiny! I love the crazy, drape-y growth we have going now.
So yes, it’s still attached to our house, it’s still alive, and we’re all still very happy together. If you’re interested in details of our installation, check out my post all about it.
That’s all for now. I’m having a busy summer, in all kinds of good ways. You?
Top photo courtesy of Miss Jennie Oh


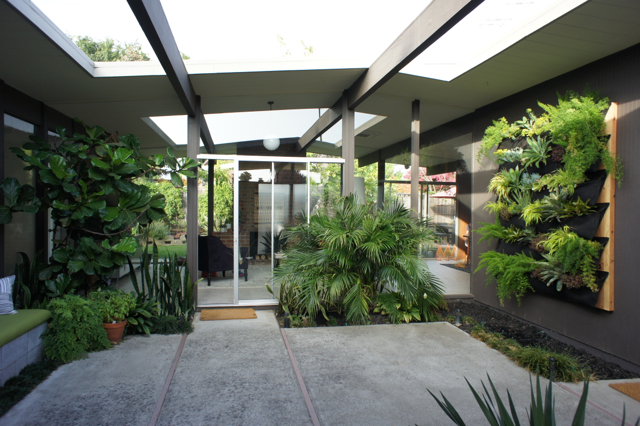
We’ve been getting ready for spring to start by tidying here and there. I picked up the camera this weekend just to capture a few of these moments.
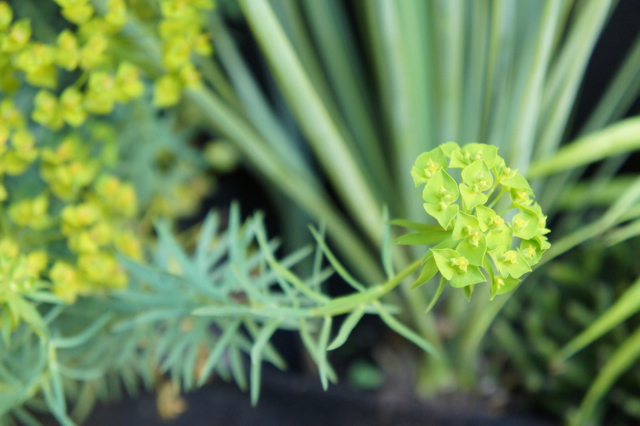
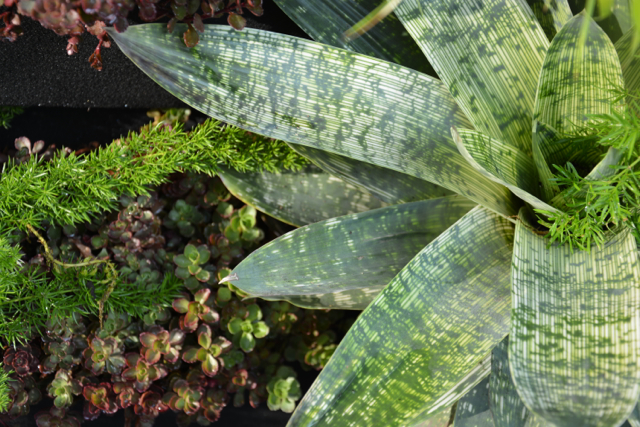
Our atrium is the nicest place to hang out in for now. The living wall is doing great, with a few small replacements needed: the stonecrop, of all things, died. The agaves, ferns, and even the bromeliads are doing just fine.
The rest of the garden is a bit of a mess. Lots of frost-bitten dead plants still hanging around. The angel trumpets have been freshly massacred by our gardener. And our fence is looking less and less vertical with each passing day.
I’m holding out with the backyard because I’m currently in the process of finding a landscape architect to work with. Landscaping: definitely not my area. I have been collecting plenty of ideas, but no clue how to put them together. Any recommendations for people to work with, please send them my way!
Hi friends! Finally the reveal you’ve been waiting for: our living wall! I’m so happy that it’s done, looking so lush with lots of pretty plants, and, did I mention that it’s done? Yeah!


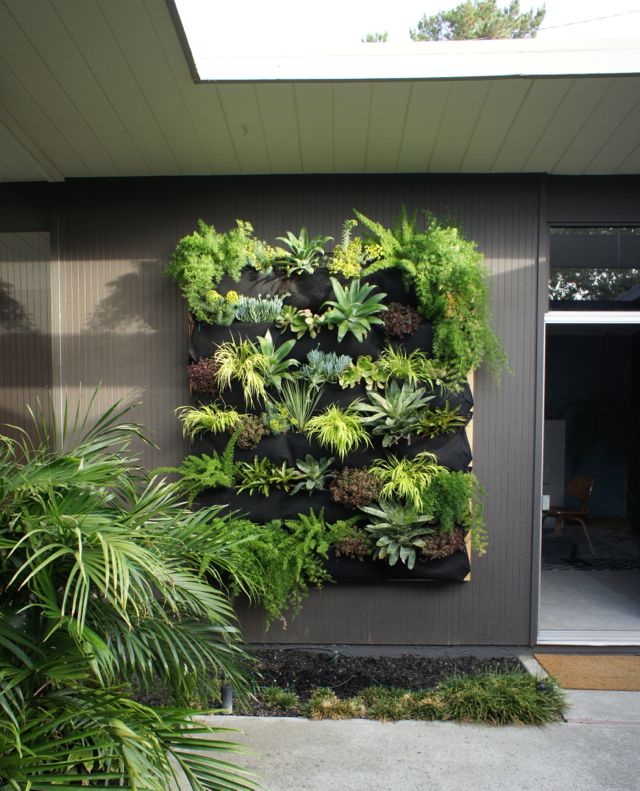
What do you think? I think I am in love with it.
Let me back up a bit to give you the details of how we built this, in case you’re interested in constructing your own. To start, I wanted to create a wall that would not damage our rather precious and not terribly robust Eichler siding. This meant not having plants, soil, and moisture right up against the siding.
After some research, I chose to go with the Woolly Pockets since they have an impermeable membrane built into the pocket so moisture is contained. The pockets are designed to mount directly to a wall, using wall anchors or screws. However, I didn’t want to put a million holes in our siding and have the weight of the pockets supported by the siding and wall anchors only. I needed something more sturdy that mounted to the wall studs. My solution was to design a backing board that would mount to the studs, onto which we would then attach rows of Wally Threes.
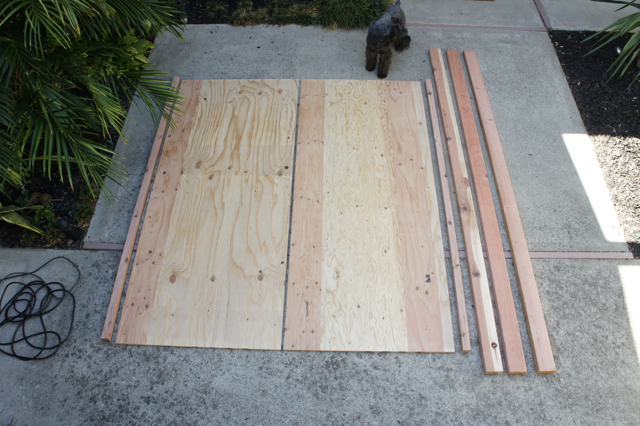
Here’s how it came together:

TADA! When I think back, it was almost that simple. Before things got serious, I used painter’s tape to convince myself of where exactly I wanted the wall to go:

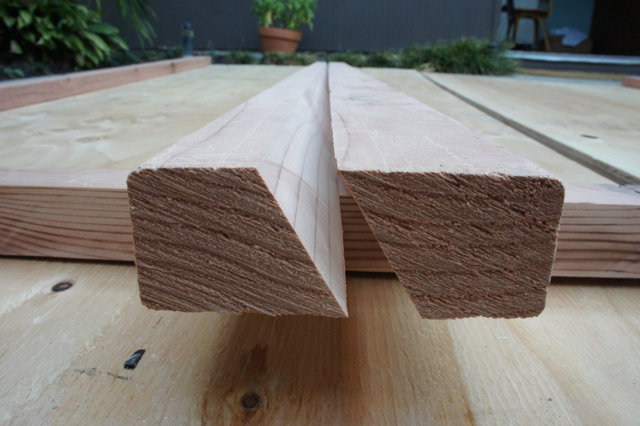
Basic materials included plywood (we used 5-ply, 3/4″ thick), 2×4 redwood lumber (nice dry stuff), and a whole lotta wood screws. The wall was to be 68″ wide by 78″ tall, to accommodate six Wally Three pockets.
Given the size of plywood at the store, this meant we had two half-panels which we assembled to make the full backing board. The back was framed using the 2x4s, to give ample space between our siding and the board, and to accommodate a French cleat which was instrumental in getting the board up and attached to the wall studs.
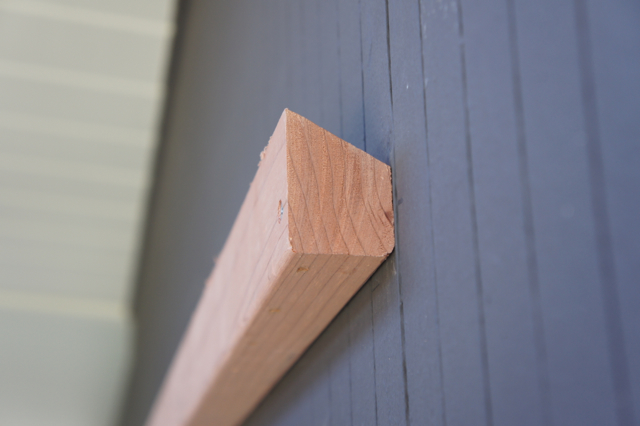

That cleat was magical, I tell you. And I may be in love with my table saw (Ryobi BT3000, which I bought second-hand!) as a result. The alternative to using the cleat would have been for one person (myself or my husband) to be holding up a giant piece of plywood whilst the other scrambled to drive screws through to hang it. Painful and totally not fun, I’m sure.
With the cleat, we just attached half of the cleat (pointy edge up) to the wall, driving 3″ screws through into our studs. We cut the other half of the cleat (pointy edge down) in half, and the two halves went along the tops of the plywood panels. Lift, hang, and behold!
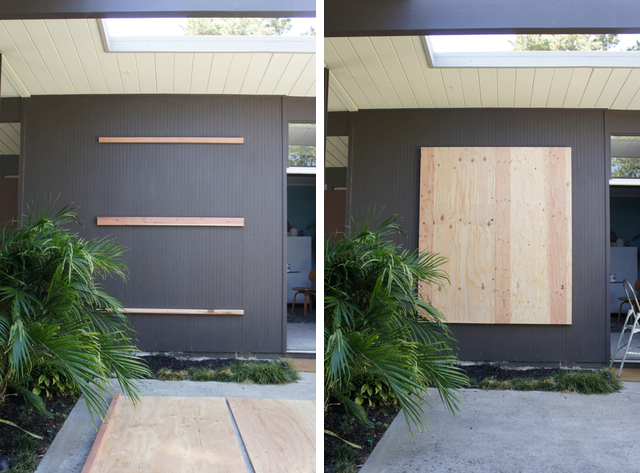
To make things extra-secure, we did attach a 2×4 in the middle of the space behind the wall, and drove 2″ screws through the plywood along the cleat and the 2×4. That thing is not going anywhere.
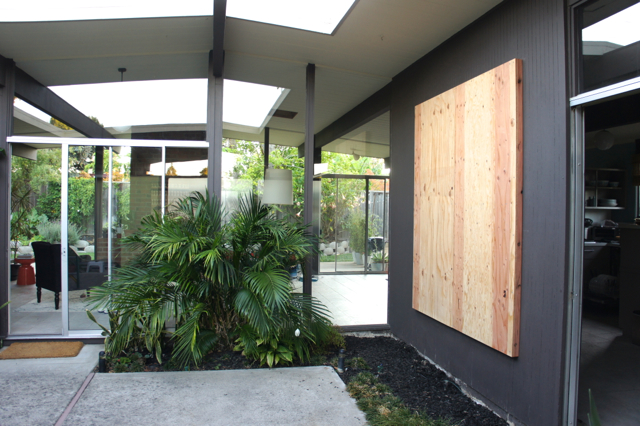
After mounting the backing board, attaching pockets, and running irrigation, we planted. And planted and planted and planted. I believe I visited no fewer than four nurseries in the past week, because I really wanted a wall that I loved. And when I said that I wanted ALL of the plants, I was not joking!

And so, I ended up using the following to fill the wall, mostly from Flora Grubb and my local Summerwinds:
(This is not in any way a sponsored post. And you can find my earlier post about planning this project right here.)
All photos by Karolina Buchner
For those who are so closely following my living wall project, get excited! It’s time …. ALMOST.
This past weekend we built the plywood framed backing for the living wall and we’re in the home stretch of this project! I just have to mount the backing in our atrium, attach the Woolly Pocket Wally Three pockets I got last week, and we’ll be ready to plant. It’s time for me to make a plan for this major plant purchase (hooray!), but first, I need to decide on the look for my living wall.
I’ve been researching what kinds of plants will do best where the wall is installed. The wall gets about 4-6 hours of direct sunlight in the mornings and it does get quite warm due to heat being radiated by the concrete floor of our atrium. We’re running drip irrigation to all of the pockets, so watering should be easy to adjust.
So: options! There are many, but here are three that appeal to my taste . . .
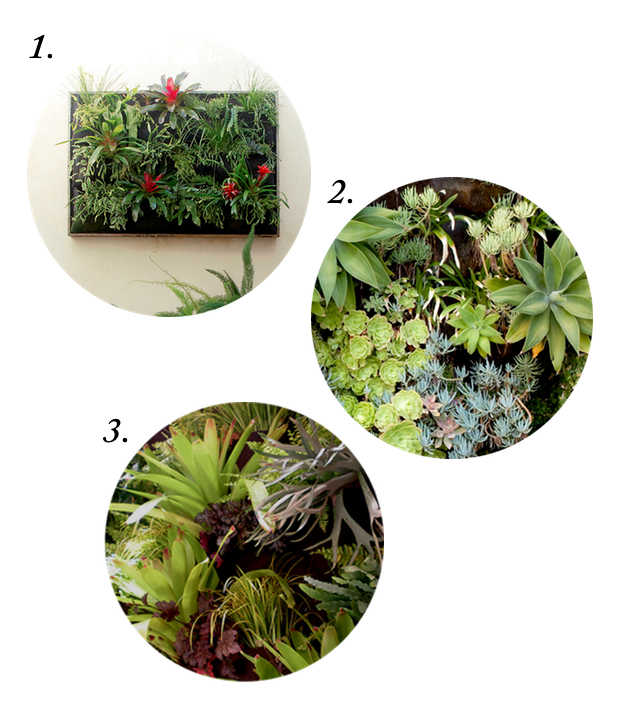
1. A bit of Hawaii: bromeliads and ferns
Your own little tropical jungle, on a wall. The punch of colour from the bromeliad blooms is a nice way to add some interest and break up the greenery. I’m quite drawn to this, but not sure if these shade-loving plants be happy given how much light this spot gets. Then again, our long-gone bougainvillea was in this spot and never bloomed, leading me to think it’s not too much sun after all.
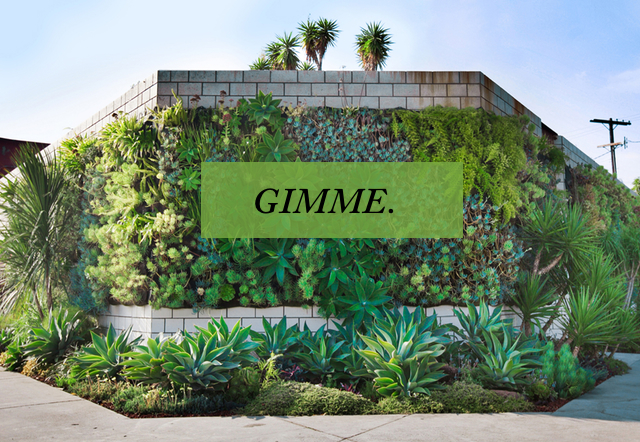
2. A bit of Palm Springs: succulents and agaves
I love succulents, don’t you? Trailing succulents might be perfect for the wall. Agaves, on the other hand, might be a bit on the heavy side for a wall installation. (Have you ever tried moving an agave? They are dense, water-hogging prickly monsters, trust me.) Still, here they are, tempting me to try them out as part of my wall. The installation pictured here, and at the top of this post, is from Smog Shoppe, a really cool event space in LA, with a HUGE number of plants (just shy of 2000 plants, I kid you not!) in Woolly Pockets. Bonus: you can check out the full list of the plants used in the case study for this project.
3. A bit of everything: staghorns, grasses, and heuchera
This is reminiscent of the walls I saw in person at Flora Grubb. There are even some lime-green bromeliads in here! This wall, designed by Daniel Nolan of Flora Grubb, is what started it all for me. It’s a great mix of textures and colours. I especially like the silvery look of the staghorns as compared to the other foliage. And I might add some foxtail ferns in for even more crazy texture.
What do you all think? Any green thumbs out there with recommendations on what to plant?
All images via Woolly Pocket and Flora Grubb Gardens.
Hi friends! Where did the week go? It’s been a busy one over here, and I’m looking forward to the weekend and some more projects.
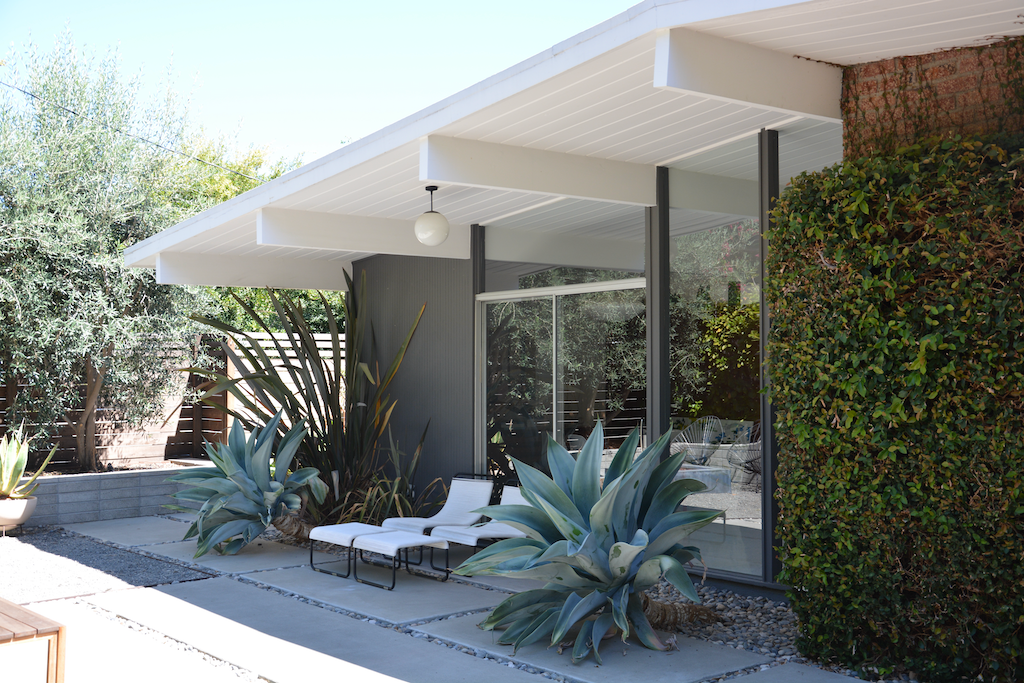
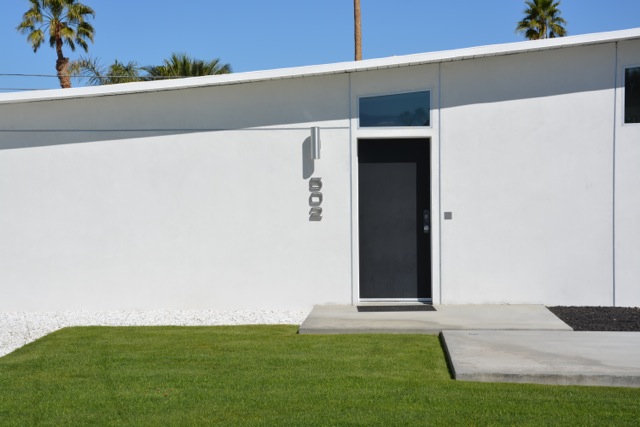
I’ve been trying to get organized lately, and realized that a few months back, I totally neglected to share with you my favourite past-time in Palm Springs: looking at houses! In fact, one of the original goals of that trip was to do some field research on landscaping.
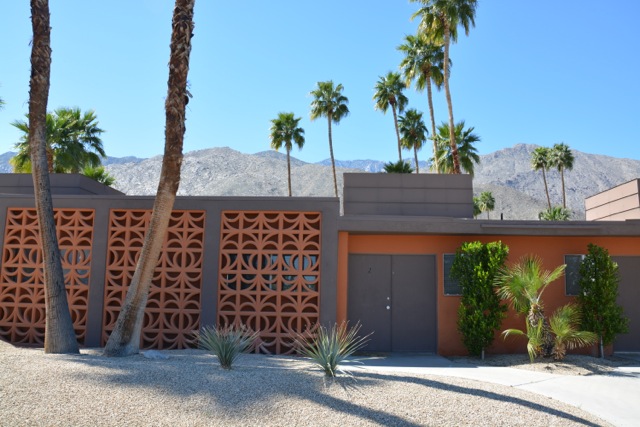
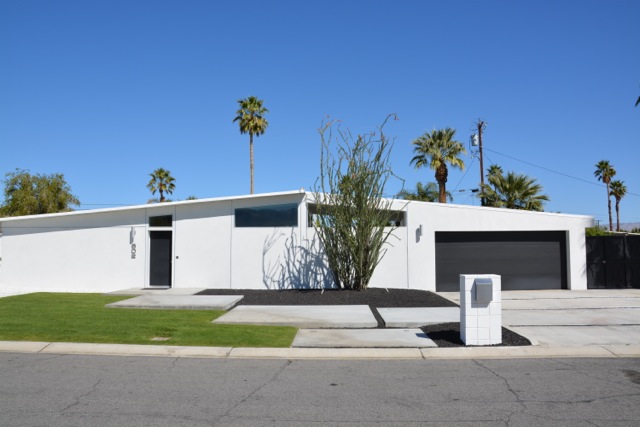


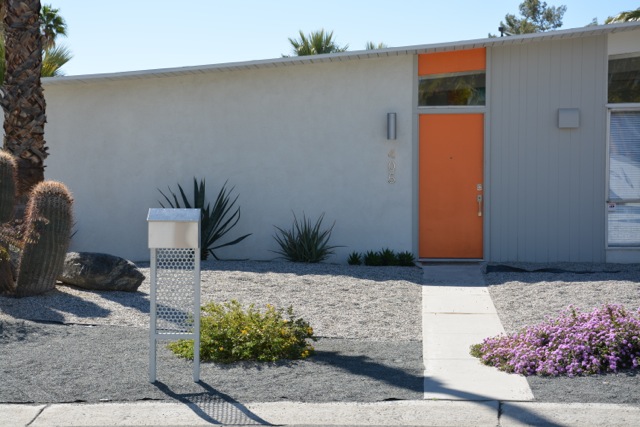
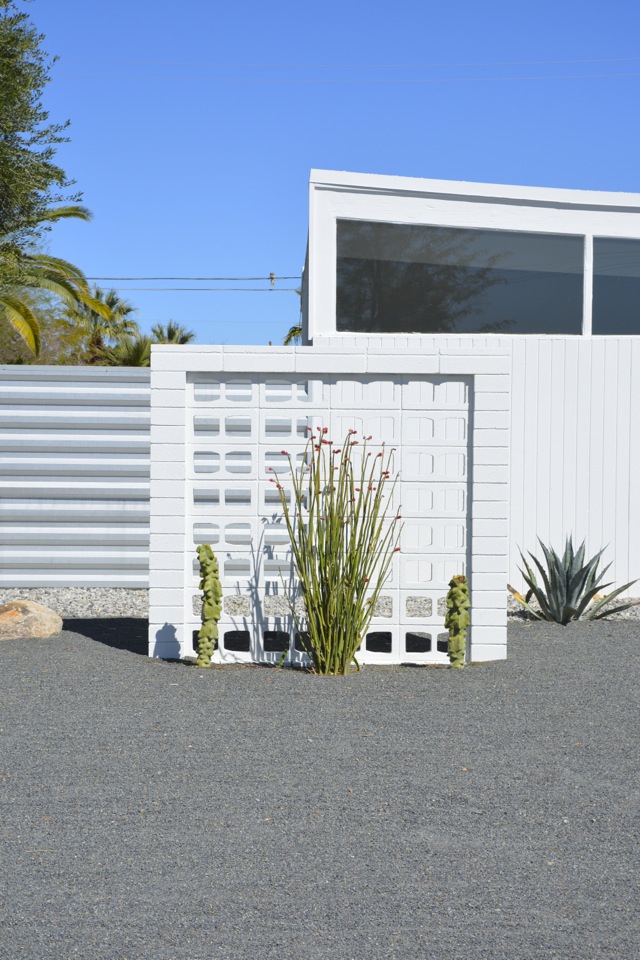
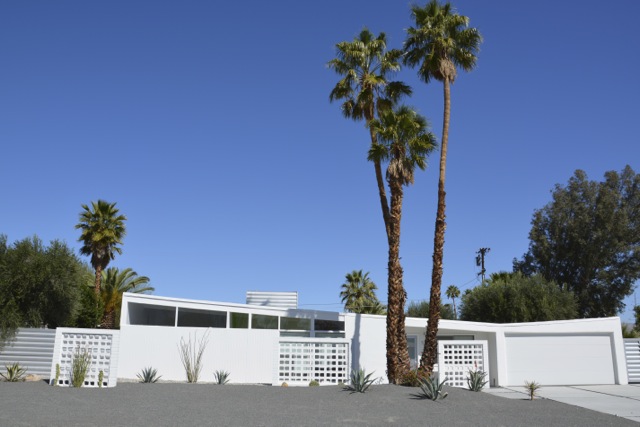
Makes you want to rip out your lawn and fill it in with gravel, doesn’t it? OK, maybe it’s just me.
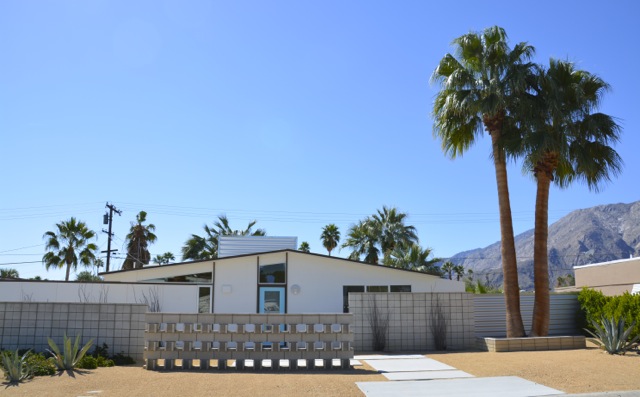
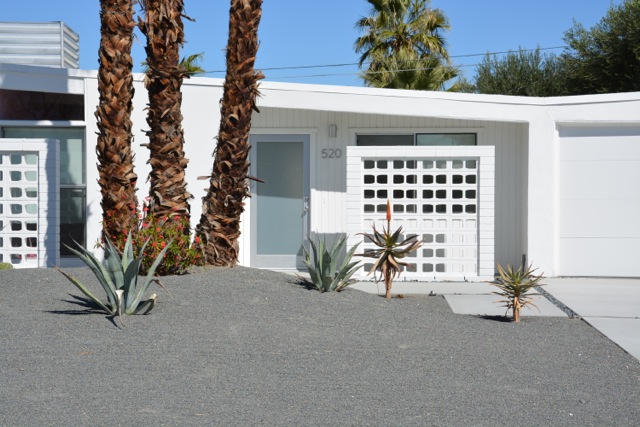
These beauties are almost all from the famed Racquet Club Estates, mostly on the same street as our rental house. They are Alexander homes.
The Alexanders are like the Eichlers of Palm Springs: both merchant builders of mid-century modern tract homes. Except with more glamour and a family tragedy that ended their development. Unlike Eichlers, they seem to be ubiquitous throughout the area, and much better preserved, with fewer heinous improvements than we sometimes see in the Bay Area.
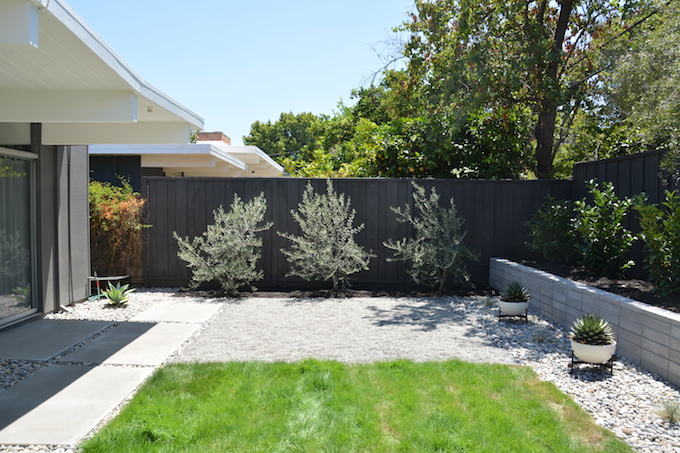
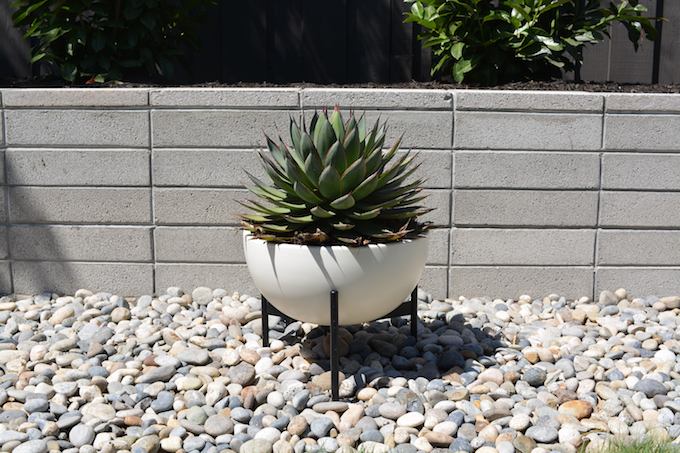
After getting my fill of desert amazingness (as much as was possible due to certain, ahem, constraints), I returned inspired to set some landscaping plans of my own into motion. The horsetail and beach pebble installation from last weekend is a start. Small steps.
For more of Palm Springs through my eyes, check out my flickr set.
Happy Friday! See you next week.
photos: Karolina Buchner
