All Posts By

Karolina

holiday personal

holiday round-up

January 5, 2015
Untitled

Happy New Year, friends!  How was your holiday?  Were you home or away?  We had a full house here with David’s family visiting from Canada.  It was a great Christmas for us, and I wanted to share a bit of it before we’re off to new projects for the year.


Here’s the highlight reel:

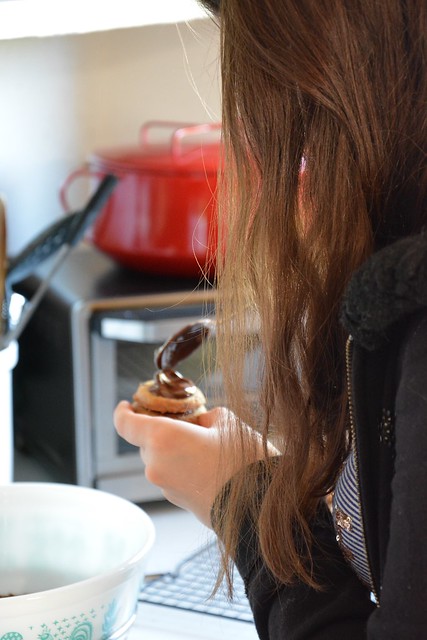
Our sweet niece baked cookies.  They were so yummy:  each is sandwiched with Nutella, then topped with melted chocolate and a walnut piece.

Untitled
Untitled

We caught Winston hanging out on his favourite but forbidden wool blanket.  Sneaky dog.

Untitled

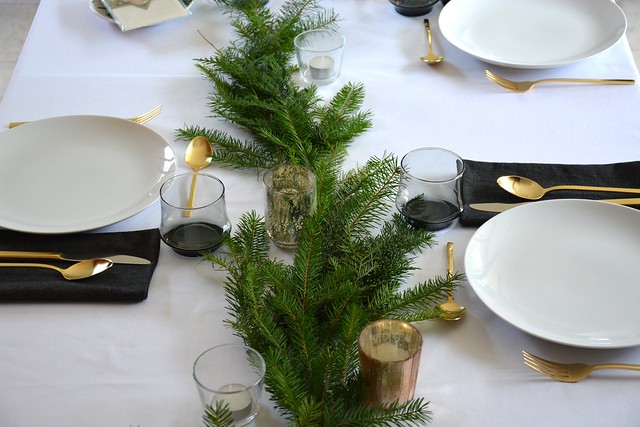
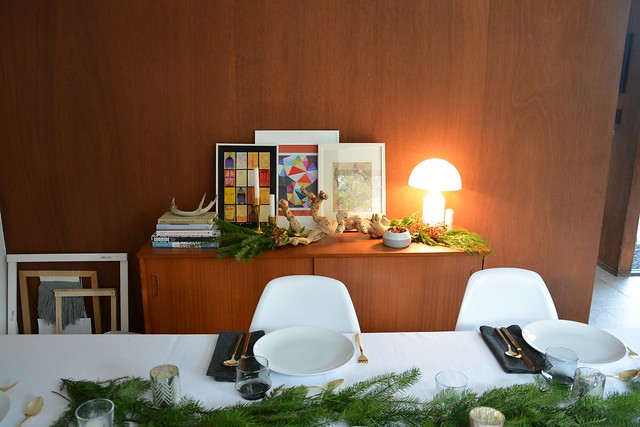
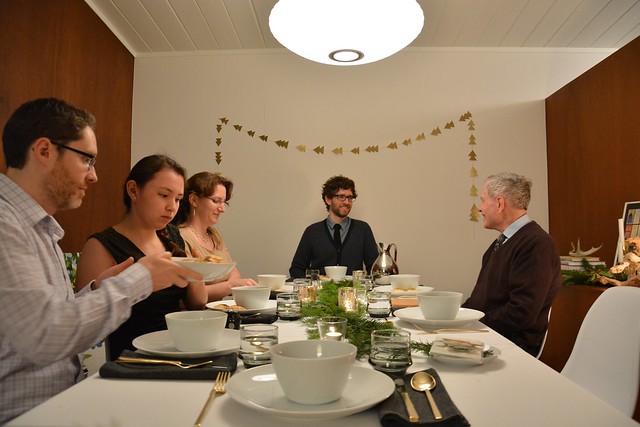
I pulled off Christmas Eve dinner!  Thanks to some major planning and help from my mother-in-law, I managed to prepare all of my favourite Polish dishes.  I wanted the table setting to be unfussy, since this is traditionally a quiet occasion, so I went with simple greenery and charcoal grey against white and gold.

Untitled
Untitled

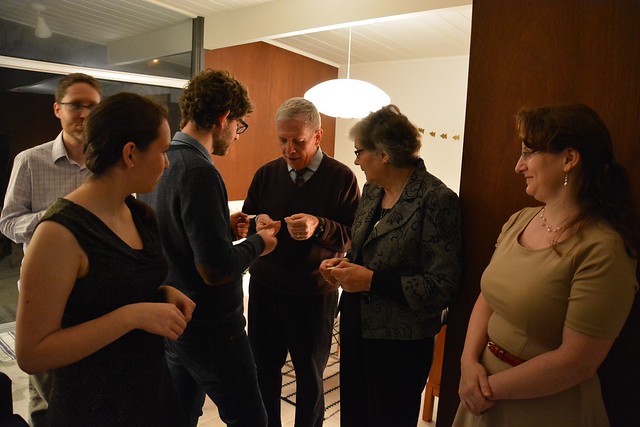
Christmas Eve is a big deal on my side of the family and this year I got to introduce David’s family to it.  I love the coziness and ceremony of this meal, which starts with everyone exchanging greetings individually before sitting down to eat.

Untitled

Dinner started with beet soup and mushroom-filled pastries, then braised sauerkraut, beet salad, green beans, and pierogi, all homemade per family tradition.  This was the view from my seat.

Untitled

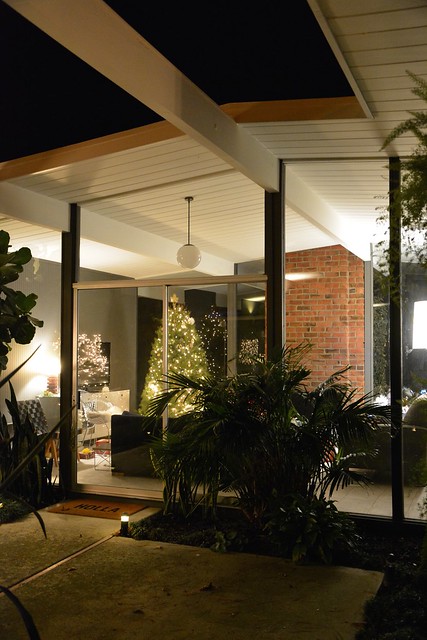
We followed this up with tea and a tower of sweets (gingerbread and panettone from the local Italian grocer), and watched a mid-century classic:  White Christmas.

Untitled
Untitled
Untitled

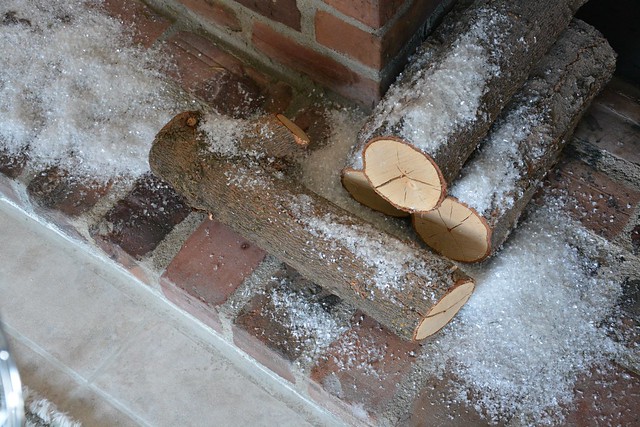
On Christmas morning, a dusting of snow appeared by our fireplace along with gifts under the tree.  We unwrapped presents and made this amazing pumpkin pie French toast bake for breakfast.  Then lazed around in pyjamas for about half the day.

After the festivities, we spent most of our time touring our visitors around the San Francisco Bay Area, including multiple trips up to the city and the coast.  Lot of driving, fresh air, and that California sunshine.

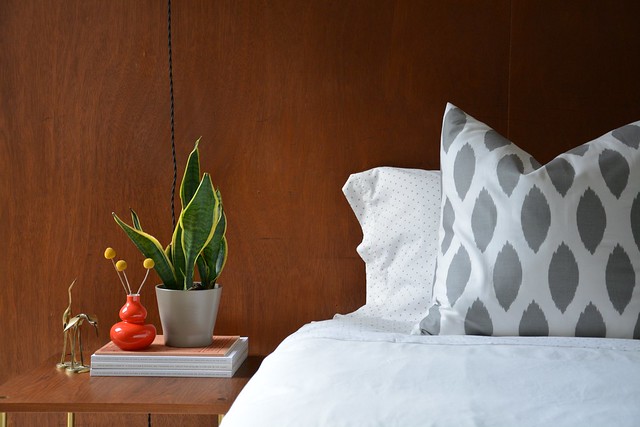
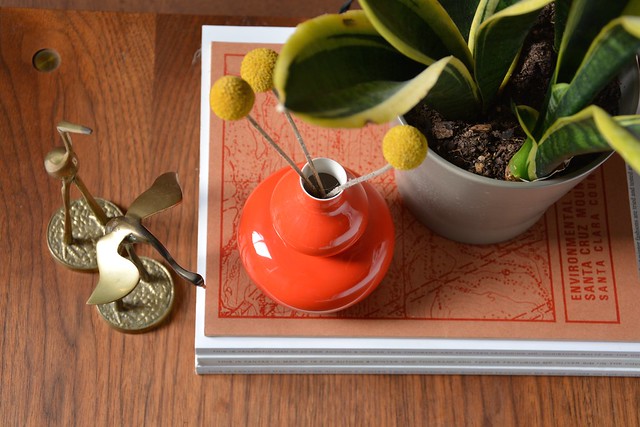
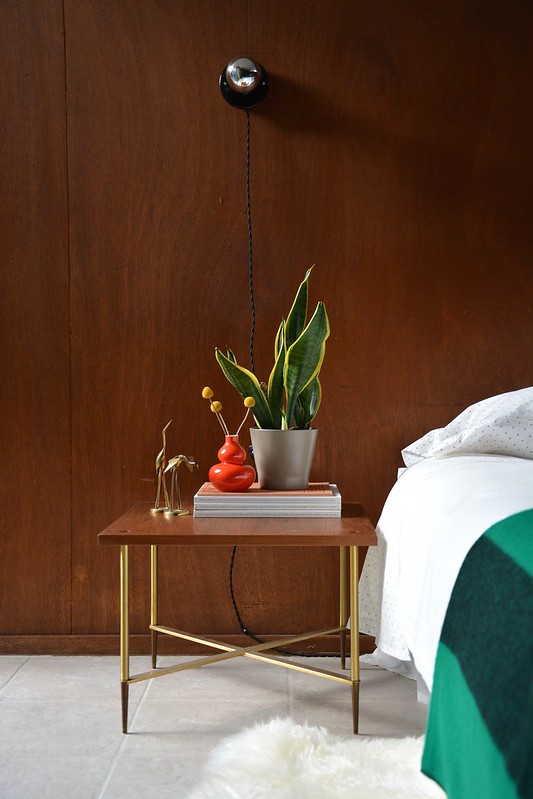
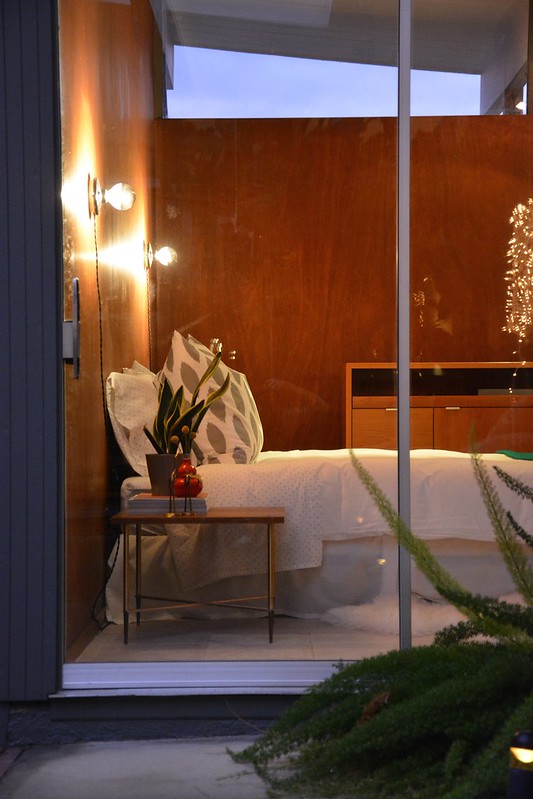
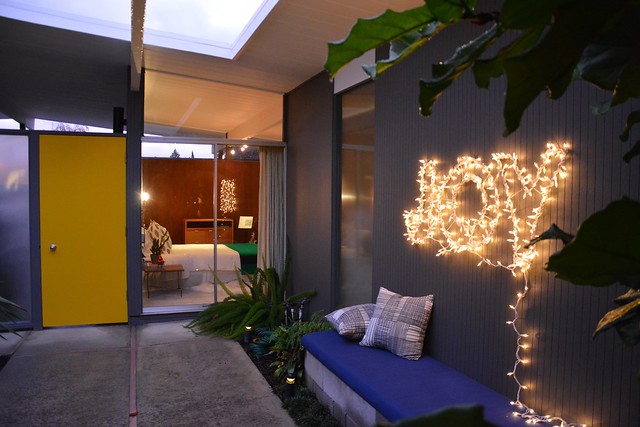
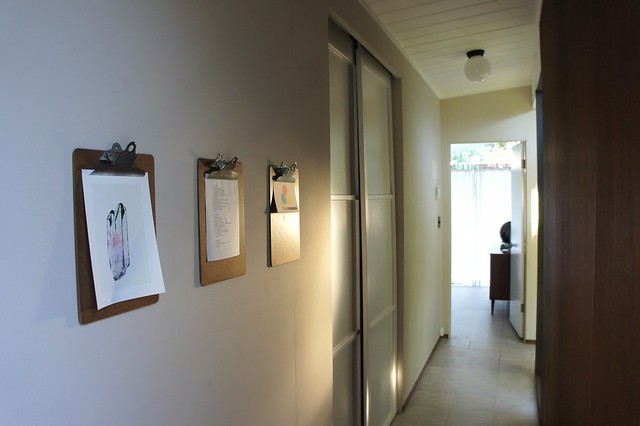
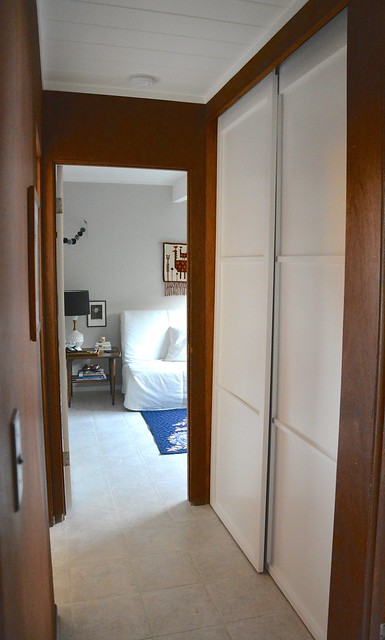
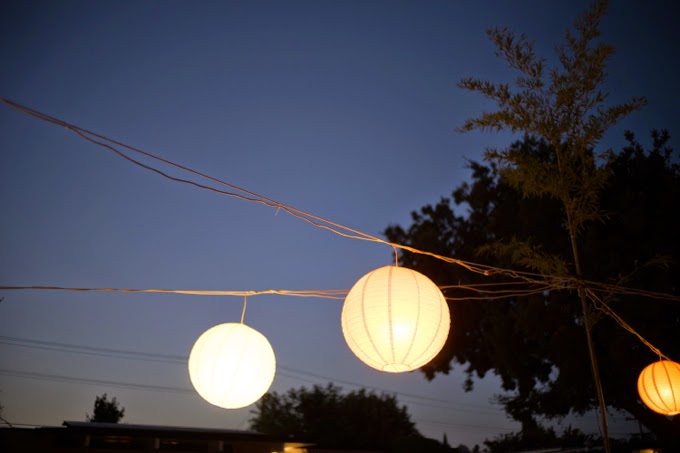
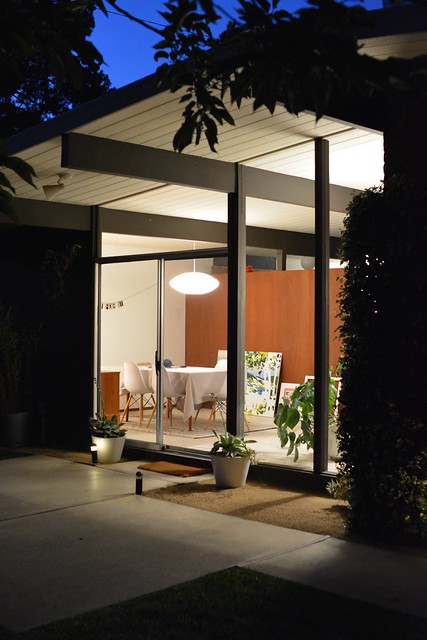
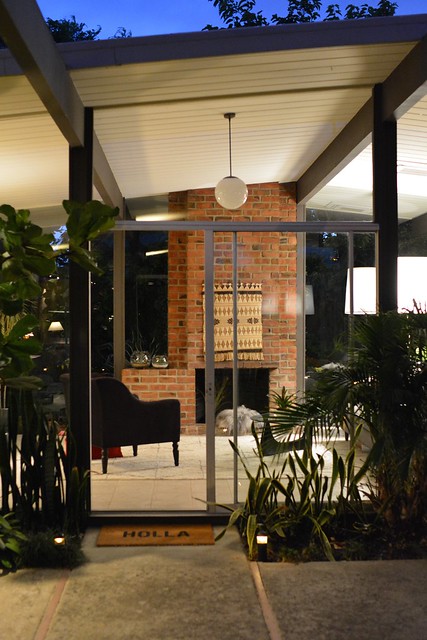
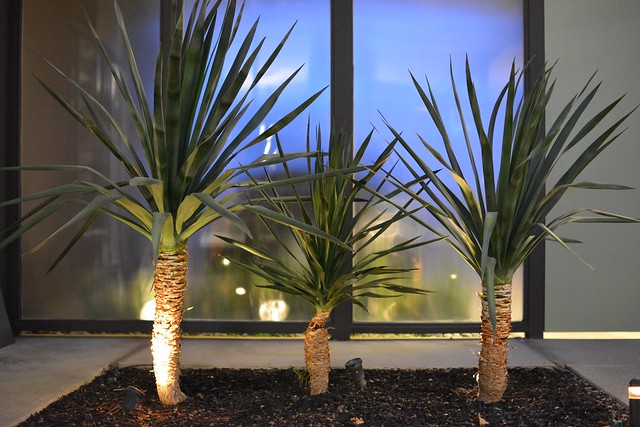
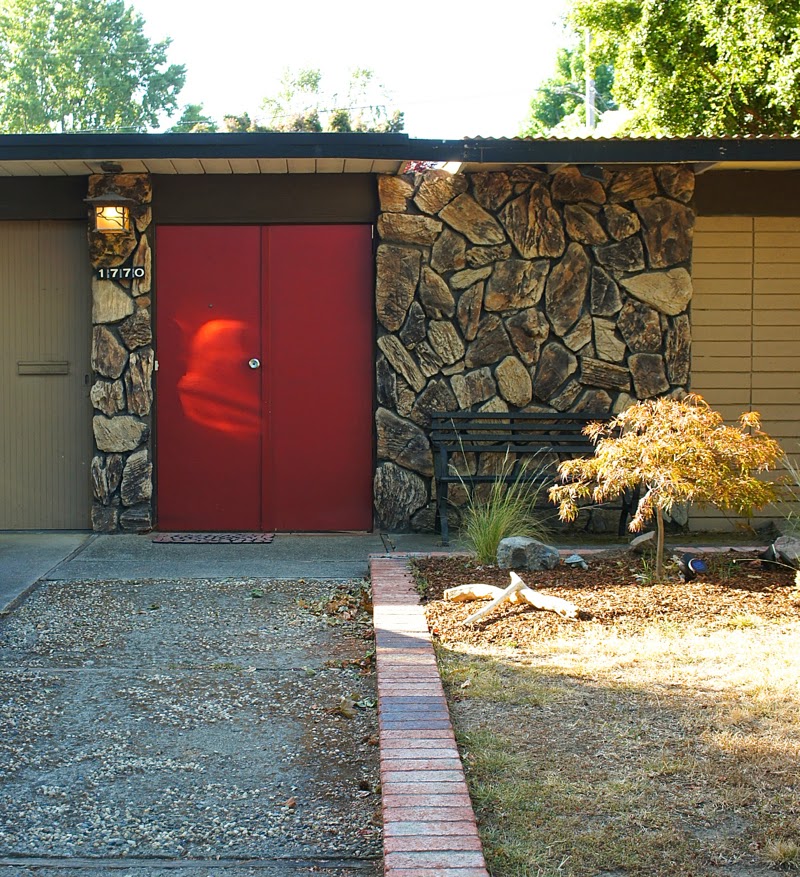
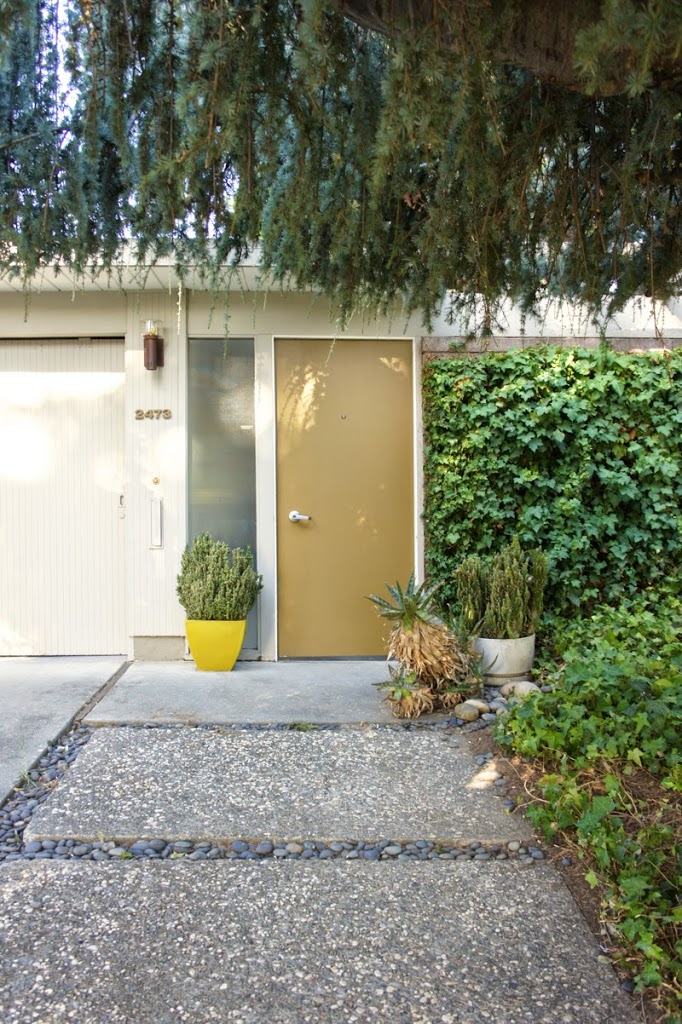
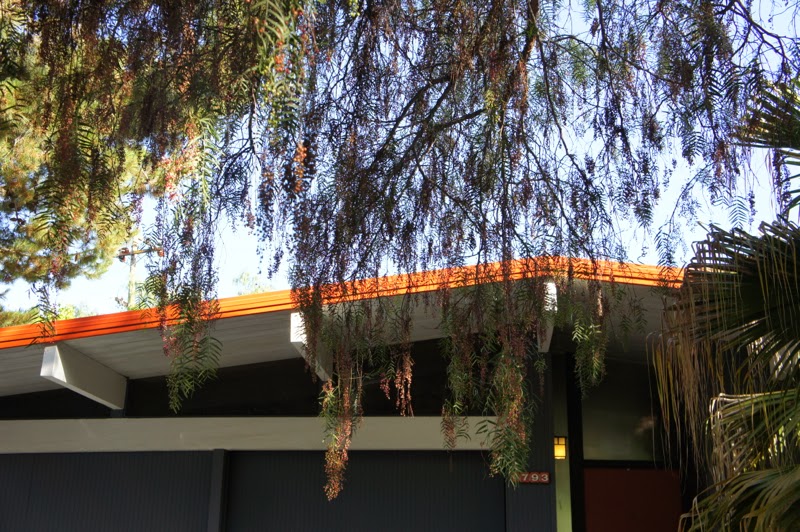
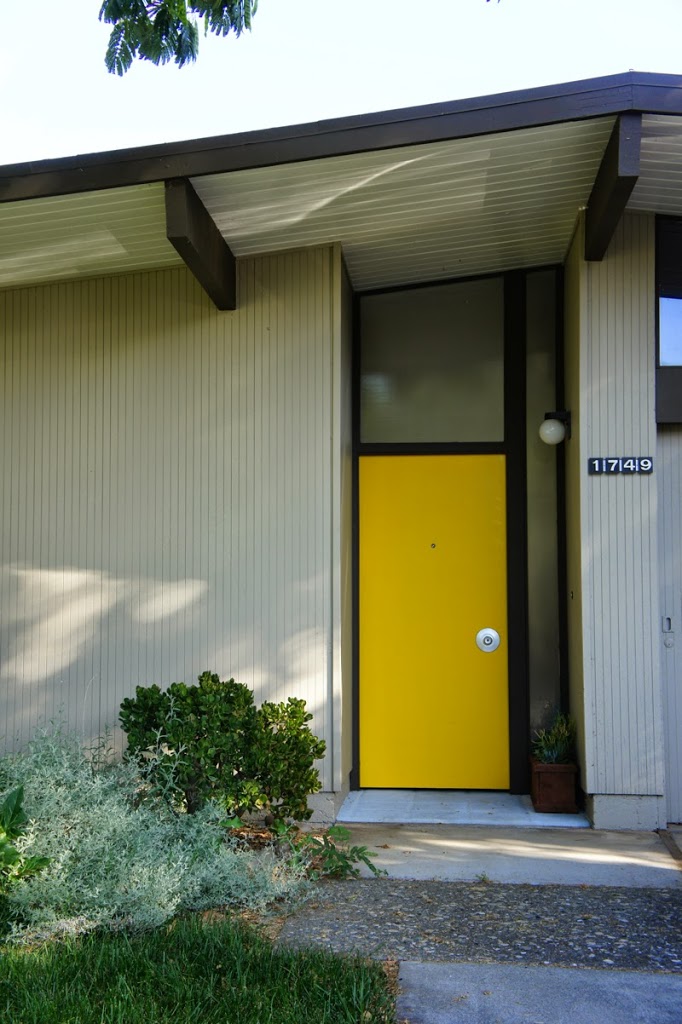
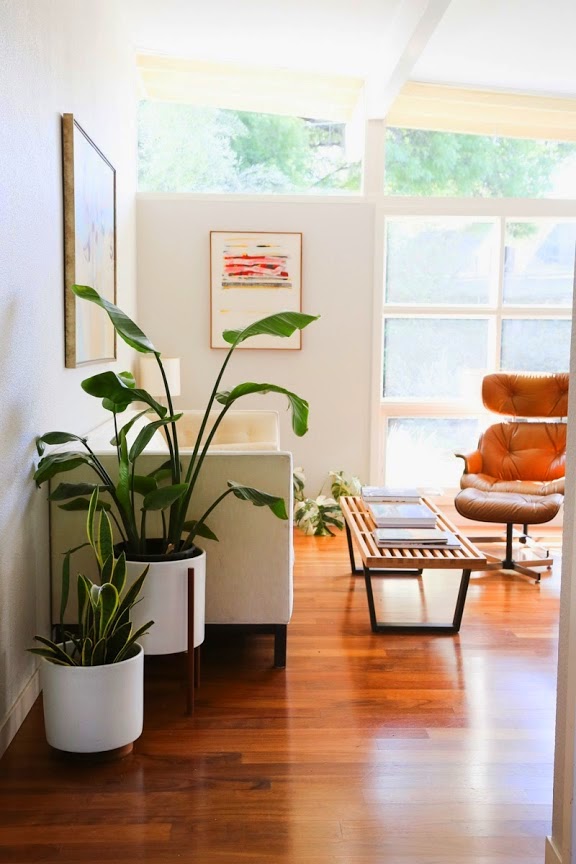
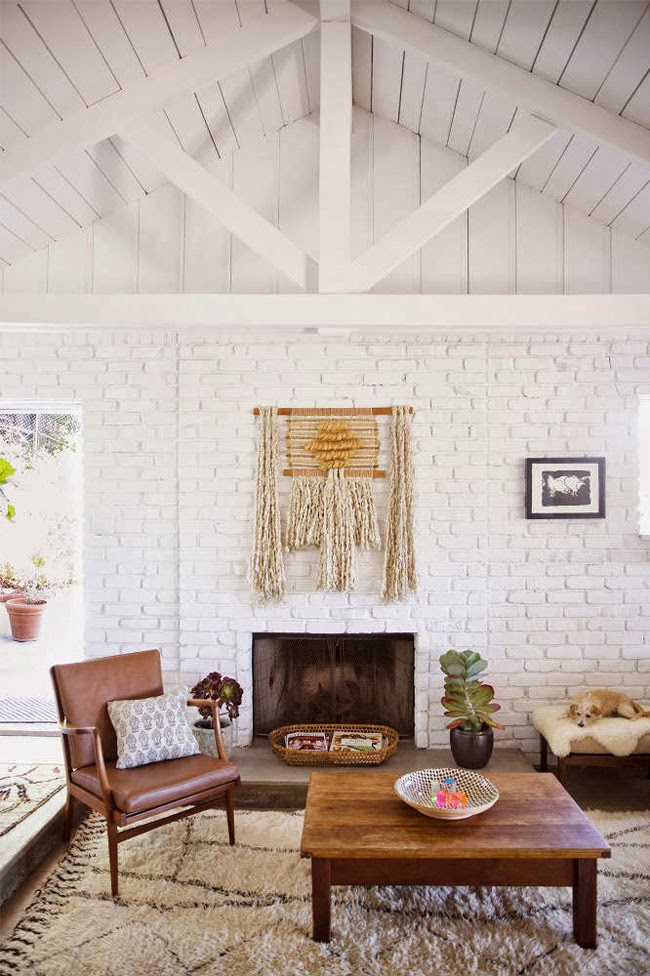
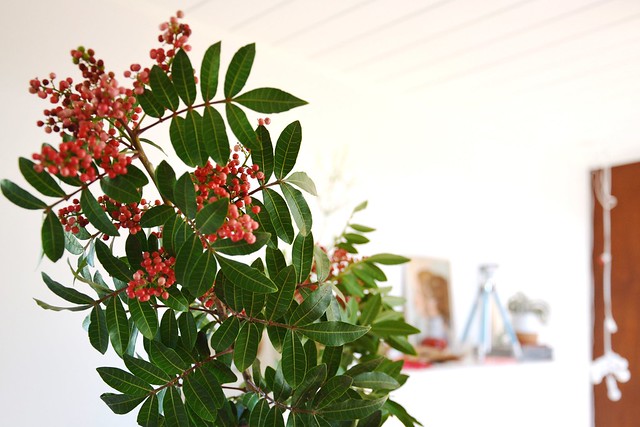
I snapped a few quiet moments around the house while everyone else was wiped out from all the activity.

Untitled
Untitled

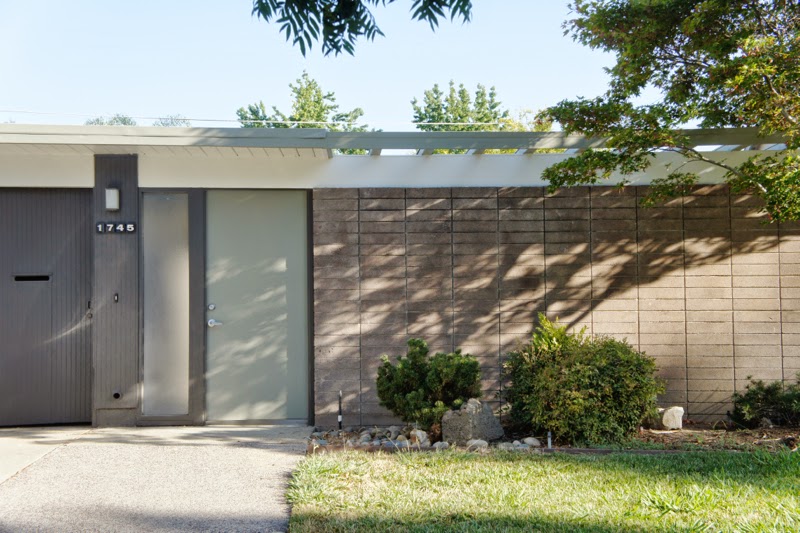
Of course all the loveliness had to come to an end.  Now that I’ve finished vacuuming up the last of that glitter snow, I am so ready for 2015!  We’re planning to kick off our landscaping overhaul this year and I’m really excited for it.  And I’ll probably end up painting more walls.  Maybe traveling.  Definitely thrifting and furniture hunting, as usual.  And finishing my client’s house (two rooms left!)

And so:  my very best to you and yours for a happy, fulfilling, and healthy New Year!

eichler hobby room interiors

new guest bedroom

December 1, 2014

I promised pretty things a while back. Here we go!

Untitled

We’re getting ready for a very exciting Christmas:  hosting David’s family at our house over the holidays.  It’s five people more than we’re used to, but I am thrilled to have our house a-buzz with festive fun and activity this year.  To make room for everyone, the hobby room is now a guest bedroom.

It’s been a while since I’ve had the chance to do a project like this, and I love how it turned out.  The room is fun, bright, and cozy.  My in-laws will be staying here, so I really wanted to create a space that they would enjoy and feel comfortable in, while keeping it super simple and fitting with the style of our house.

Untitled

Untitled

Untitled

Nothing is precious, and since I have two more bedrooms to set up, I kept it quite budget-friendly for the most part.  The main splurge item was the green wool throw, from Schoolhouse Electric, which was the starting point for the rest of this look.  I bought new bedding and styled the rest with items from around the house, threw in a few sheepskins… and done!

One of my favourite things in the room is this little table.  We’ve had it for a while, and I love the pointy brass legs.  I’m not sure of its lineage, but I’m thinking maybe midcentury Italian.  Any ideas out there?

Untitled

Here’s the view from the atrium.  So it’s not the most private room in the house, but I think it will work.  It looks quite cozy in the evening, looking from the outside in.

Untitled

Untitled

As a bonus, my guests get to admire the atrium Christmas lights before tucking in for the night.

I’m definitely feeling the JOY!  Are you?

Sources:
Grey ikat pillows – ElemenOPillows on Etsy
Polka dot sheets and pillowcases – West Elm
White DVALA duvet and sheepskins – IKEA
Kelly Green wool blanket – Schoolhouse Electric
Orange vase – available at Flora Grubb
Brass herons – estate sale find
Teak side table – vintage
Sconces – our own creation
JOY sign – our own, you can find similar wire letters here and add mini lights

diy eichler projects

eichler closet doors + modern hardware

November 6, 2014
DSC09897

It’s been a bit quiet around here, since we’ve had a tough couple of weeks, sad and frustrating at the same time. I’ve been coping by working on the house, tuning things up here and there, aggressively painting at times, and purging junk.  And after a nice weekend visiting with friends, my mind and heart are feeling much more settled now as compared to last week.

So:  closet doors!  (The unofficial, never-ending theme of this blog.)

As part of having our house painted, all of our original closet doors got a fresh coat of paint … along with their original slider hardware (oops).  The painted sliders were sticking in their wooden tracks, making the doors nearly impossible to slide.  The wooden track-and-slider combo is an original Eichler feature and, sadly, one that is not terribly durable.  After a few weeks of frustration, we decided to make things right.

Here’s how it went down, in case you’d like to re-do your doors, while keeping them as intact and original as possible:

Step 1:  Take down doors and rip out the old wooden tracks.  It’s cathartic.  Even if you only make it past this step, you will feel a lot better about your house and yourself.  However, you will have no closet doors at this point, so you’ll have to soldier on.

DSC_0002
DSC_0029


Let’s take a moment to appreciate the scary wooden tracks.  Held in place with a combination of screws with nails driven through them (?!?), they wore out very unevenly over their 50+ years of service.  We had the doors jumping out of their tracks on a regular basis.  Not-so-fun times.

Step 2:  Build out the area from which to hang the new track with extra lumber.

We put an additional 1 1/2″ x 1 3/4″ (or so) board up alongside the existing black frame from which the tracks were suspended.  With the new lumber (the light stuff) we had about 3″ in depth, enough to install the metal track and have it set back from the fascia of the closet.  Set-back from the fascia really helps when hanging the doors later on since you have to put them in on an angle.

DSC_0008


Step 3:  Install the metal track.  Pilot holes and screws.


Step 4:  Pop off the old sliding hardware and bumpers from the doors.  Sand, patch, sand, paint.  We did this both for aesthetic and functional reasons, to prevent the bumpers from scraping against the doors after hanging (as we discovered later).


Step 4:  Measure the doors and opening AT LEAST 10 TIMES.  We took about 3/4″ off each door:  3/16″ at the top, and 5/8″ at the bottom.  I know that doesn’t add up, but when things get precise like this, I revert back to my native metric, so:  we actually took 0.5 cm off the top, 1.5 cm off the bottom.

Step 5:  Trim the doors.  We used a circular saw.  I recommend this video for tips on how to get nice precise cuts.  We specifically made sure not to take off too much from the top, so our new roller hardware could fit into the original groove at the top of each door.

DSC_0061


By the way, the best advice from that video:  use painter’s tape when cutting surfaces that are already painted.  We did this and it really kept the cuts smooth and clean:


Steps 6-7: Attach the rollers to the doors, and hang.

DSC_0013


After all this time, having closet doors that actually move is a small miracle in our house.  It’s so amazing to have them just glide with minimum effort.

Anyway, hope this was useful to some of you!  I’ll be back with prettier things soon.

diy furniture projects

ercol sofa

October 10, 2014
ercol sofa

This is a long post, friends.  Please grab yourself a comfy seat and a cup of tea.  We’ve got a furniture restoration project on our hands!

Just last week, my husband and I made our almost yearly trek up to visit family in Canada.  This includes a stay in the wilderness known as cottage country in northern Ontario.  I’ll post more about the cottage soon, but what you need to know is that one of my favourite non-nature-y activities while at the cottage is visiting antique stores and junk shops.  Some of which are quite literally junk shops.  Hello, Seguin Township dump store!

On one of these outings, my mother-in-law Sharon drove us to a favourite shop in Parry Sound, which includes a proper furniture store in addition to barns filled with all manner of antiques, knick-knacks, and old household wares.  It’s probably the stuff of nightmares for a fire marshal.

In one of the barns, I spotted what I thought was a possibly mid-century style bed frame:

ercol sofa refinishing project

We asked the shop owner for a price ($100 CDN) and where it came from (England).  Then we hauled it out, checked that it was sufficiently sturdy, and decided that it was a project we could not resist.  It would be perfect as a daybed under one of the big picture windows overlooking the lake at my inlaws’ cottage.  Lucky them!

Thanks to the wisdom of my Instagram friends, we learned that this is an Ercol sofa and indeed made in England.  Specifically, it’s the Ercol Studio couch which was designed in the 1950s by the company’s founder, Lucian Ercolani.

Look how cute:

ercol sofa
ercol sofa
ercol sofa

They’re still being produced and are rather pricey.  I’m quite pleased that my eye for quality mid-century junk is in good working order!

So, back to our sofa:

ercol sofa refinishing project

We took the sofa back to the cottage with us where I gave it a rub-down with mild soap to see what sort of condition the finish was in.

The original stain is really neat.  The darkened areas accent the back and the spindles of the arm rests.  Sadly, it was badly damaged in a number of areas along the arms and back, so we decided to strip and refinish it completely.  The plan is to achieve that nice and bright honey-toned look like the sofas above.

As an aside:  I think I’m really bad at vacations.

After the cleaning, we removed the original webbing, which we learned is a very high-quality rubberized webbing made by Pirelli.  (Sound familiar?  They make tires.)  Each strap was originally held in place with wooden dowels on either end.

ercol sofa refinishing project

In its previous life, someone had tightened up the webbing by cutting it shorter and stapling it on one side.  We’ll try to get a whole new set of webs and dowels so it can be restored to its proper state.

Our main accomplishment was stripping off the finish.  Pro tip:  instead of using steel wool to remove the paint stripper, we used those green scrubber pads used for washing dishes.  Their main attribute is that they’re super cheap, yet effective and gentle enough to not damage wood.  The best part is that you can buy an armload and just toss them out as they fill up with gunk.

ercol sofa refinishing project

The stripper only went so far in the areas where the original finish was very dark, leaving some really dark stains.  So I started to sand:  100-grit, followed by some ‘medium’ grit sponge, and finally 220-grit.  I love the grain and the surf-board shape of the back rest, but it still needs a LOT of work.

Here are a few close-ups of where I sanded.  You can see the contrast between the residual stain and the bare wood.

ercol sofa refinishing project


I sanded the first three spindles and half of the bottom frame (on the left) and the corresponding top of the arm rest.  The wood is so nice and bright.  The frame is solid beech and the back is a single board of elm.

ercol sofa refinishing project


And that’s as far as we got.  I would have loved to have a few more weeks, even days, to work on it.

In the meantime, we’ll have to make do with looking at other Ercol sofas online, restored and styled in cute ways.  Sharon and I are figuring out the webbing situation and what the seat cushion will look like, leaning toward something simple and in the neutral gray-to-greige spectrum.  I can’t wait for this project to be finished.

Styled sofa photos via 1 | 2 | 3
All other photos by Karolina Buchner

eichler

fairglen eichler block party

September 12, 2014

My love for this neighbourhood is huge.  And now that we’ve been here for nearly four years, the block party has become a real pleasure.  I remember going to the first and not knowing anyone.  Fast forward to this past weekend:  we’ve made lots of friends and even took on introducing new neighbours to others (hi Ben and Rebekah, Sudarshan and Aditi!)

Over the years attending the block party, I’ve found Eichler people are actually remarkably easy to talk to.  All you need to ask is how long they’ve been in their house and what exactly are they fixing right now.  Because there is always, always something.  Hacks for preserving original kitchens, candid exchanges about contractors, and discussions about paint choices are shared along with food and drink here.


We have a great mix of neighbours too:  lots of newcomers and plenty of original owners.  Original owners that remember the orchards of San Jose which used to surround the tract as it was just being built in the late 1950s to early 1960s.  It’s great to have that connection with the history of this place.

The party itself is now in its 14th year, and is completely organized by some very energetic and dedicated volunteers.  Similar to previous years, there were food trucks, a DJ, and tables of our local makers showing off and selling their wares.  The blocked off street is our venue, with kids running wild everywhere.  The atmosphere is wonderful.

I thought I’d share a bit of our fun with you, thanks to my talented neighbours who snapped some lovely images during the event.  (That’s me and my husband, David, chatting with Tom about retrofitting kitchen sliders with china cabinet hardware.)

It’s a pretty great way to close out the summer.  And a great place to get ideas for next year’s projects, of course.

You can find the hand-painted Eichler signs on Etsy.  And there’s more about the party on the Eichler Network’s CA Modern.

Photographs by Brian Strong, Steve Allen, and me

eichler

new house colours

September 4, 2014

Those who have been following here a while may recall my earlier post about The Great Home Improvement Snowball Effect.  And my ongoing experiments with colour.  We have arrived at the culmination of the two.

I give you: our new exterior.

eichler exterior via dearhouseiloveyou.com

eichler exterior via dearhouseiloveyou.com

eichler exterior via dearhouseiloveyou.com

eichler exterior via dearhouseiloveyou.com

This started off very innocently when we looked at our siding in the front and noted that it was getting pretty soft.  We opted to replace it, and while we were at it, switch things up to satisfy my desire for a brighter look.  Which meant repainting the entire house.

We had professional painters do the work, so it happened all at once without a lot of time to change my mind a hundred times before settling.  Our guy, Mike Moody, has been super about helping pick colours and finishes, and his team is really respectful of the house as they work.  They replaced our siding, sanded everything down to bare wood, and primed like crazy.  I can’t recommend him highly enough.

The feel of the house is so different with the white beams.  Super bright and airy.  We kept the trim and posts darker to keep some emphasis on the post and beam construction.  I am still scheming to restore all of our tongue-and-groove ceilings to the original bare redwood someday.  If I ever manage that, we’ll have the white beams pop against the redwood.  I can dream.

The door is now a very bold yellow.

eichler atrium via dearhouseiloveyou.com

eichler atrium via dearhouseiloveyou.com

The bench in the atrium got a mini-makeover too.  Winston approves.

cinderblock bench via dearhouseiloveyou.com

I might be toning that blue and yellow combination down now that I’ve lived with it for a few days.  The gray and white, however, we are loving.  The house looks so crisp and new.

Here’s what we used:

  • Door:  Valspar ‘Gold Zinger’ VR012A
  • Siding:  Benjamin Moore ‘Kendall Charcoal’ HC-166
  • Accent:  Benjamin Moore ‘Secret’ AF-710
  • White:  Benjamin Moore ‘Snowfall White’ OC-118

Did I mention it’s bright? Yup.

eichler atrium via dearhouseiloveyou.com

We’re getting the interior done this week.  Just ceilings and trim, so I can give myself ALL the time I need to select wall colours.

In the meantime, please help yourself to my album of bonus pictures on Flickr (including siding replacement process shots, details of Mike’s work, and importantly, more cute pics of my dog.)

What do you think?  I’d love to hear.

All photos by Karolina Buchner

eichler

our eichler by night

August 22, 2014

Big things are happening over here.  Last week, I grabbed my camera one evening to take some pictures of our place after dark.   To capture the calm before the storm, if you will.

DSC_0140

eichler living room at night
DSC_0119
DSC_0167


We’re in the process of having our house repainted and I am suuuuuper excited.  One huge change is that the beams are going to be white (eek!)  I think I’ll miss them, and am telling myself I can always paint them back in case of crushing regret.  And there’s no time like the present to try new things.

So, I’m considering this post as a send-off to our current colours.  They’ve been very cozy and warm, and now it’s time to brighten things up.

I realize I’ve been a bad blogger lately, but yes, yes, I promise I’ll be back with more once the work is done.  You’ll be pleased to know that our house is currently sporting an African mud cloth pattern, with random white stripes of primer over the old dark brown.  Everywhere.  Maybe I’ll save a process shot or two.

All photos by Karolina Buchner

landscaping

living wall update

August 12, 2014
living wall

Hi friends, just a quickie here.  I recently hosted a night of crafting for a couple of close friends, during which this picture was oh so surreptitiously snapped.

That’s our living wall, which we love very much.  Looking at this picture, I realized just how much it has filled in and spread out in the last year.

Here’s the wall when we first installed it last August:

living wall

Nuts, right?  Those plants were teeny tiny!  I love the crazy, drape-y growth we have going now.

So yes, it’s still attached to our house, it’s still alive, and we’re all still very happy together.  If you’re interested in details of our installation, check out my post all about it.

That’s all for now.  I’m having a busy summer, in all kinds of good ways.  You?

Top photo courtesy of Miss Jennie Oh

eichler

eichler spotting: willow glen

July 28, 2014

I’ve been up to a lot lately, but not a lot of blogging it seems.  I managed to grab my camera on an early morning walk this weekend, so I can give you a peek at another one of the Eichler tracts near where we live.

You can find these Eichlers in San Jose, along Dumbarton Avenue, Comstock Lane, Hudson Drive, Raleigh Drive, and Frobisher Way.  I’m not sure what this particular tract is called, as it seems to possibly be an extension of our own Fairglen tract.

The tract is small, just about sixty houses completed in 1962, whereas ours is around 250 houses.  It’s cozy and has its own distinct feel.

The models built as part of this tract are much different from ours in some surprising ways.  One is that many of them have cinder block walls as part of their facade.  I love this style since it always takes me back to Palm Springs and the Racquet Club Estates in particular.  Cinder block paired with a flat top Eichler?  Swoon.

This house with the funky stone is one of my guilty pleasures.  It’s a bit on the 70s side rather than mid-century.  I can’t help but picture a Jonathan Adler-style party house on the other side of those double doors.

I’m keeping an eye out for paint colours lately and found lots of nice muted tones here.  And these great pops of colour too:

It’s a varied neighbourhood, as Eichler tracts usually are.  Lots of flat top models, peaked roof atrium models, little semi-courtyard three-bedroom models (one of which a friend from work just snapped up!), and the inevitable second story additions.  And there are plenty of beautiful old trees to make it feel homey and lush.

If you’d like to take a tour, you can find these houses just south of Curtner Avenue where it intersects Meridian, in the Willow Glen area of San Jose.

All photos by Karolina Buchner

interiors

the great home improvement snowball effect

June 26, 2014

Now that we’ve sorted our closet door situation, I’m back to considering some significant changes we want to make to the house.  When we bought the place, we figured we’d be good for the next five years or so before doing anything big.  Rookie homeowner mistake.  We’re such optimists.

Last year our backyard gate fall apart.  We mended it and it’s now functional, but should ultimately be replaced.  Now, we figure if we’re replacing the gate, probably we should do the fence while we’re at it.  And upon closer inspection the fence really does need help!  Change the fence?  Maybe fix up parts of the yard too.  Fix up the yard?  Probably also the siding, so it doesn’t detract from the landscaping.  Change the siding?  Well, then maybe it’s time for new house colours.  And in an Eichler, that means painting both exterior and interior at the same time.

I give you:  The Great Home Improvement Snowball Effect.

Let’s take some deep breaths.  Better.

Some of you may be wondering why I was painting things white lately, and this is it.  We’ve arrived at a point where we may be changing a lot of things.  The one I’m currently pondering is the colour situation.

It’s not all stress-induced however.  Thanks to my work sabbatical, I’m feeling a lot of love for California lately and especially for the light we get down here.  This is all helping me focus on what I want conceptually for our house:  I want it to feel like we live in California.  Bright.  Not too serious.  Connected to nature.

These interiors are inspiring me lately, and I thought I’d share.

The gorgeous LA living room of Emily Henderson

Ocean-blue colours and perfect burlwood table at Smitten Studio

Quintessential California house tour by Cup Of Jo — check out those white beams!
(In fact, check out the whole house tour, it’s so spot-on.  Later.)

Fresh and eclectic living space in Melbourne, Australia via The Design Files

Living room with a healthy dose of colour and art featured in Inside Out magazine

Perfect vintage Danish sofas and citrus-y colours in a Californian midcentury home via Dwell

White + lots of texture (reminds me of the Parker Palm Springs) via Golden White Decor

For now, I’m going to try and nail down a colour scheme for our house.  Maybe just a shade of white to start.  Small steps.  And we’ll get to that broken gate eventually.