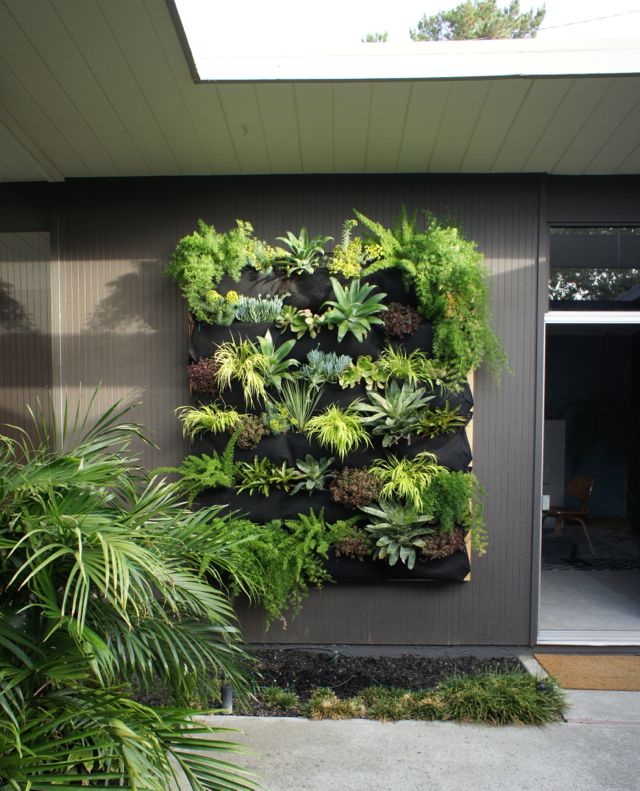
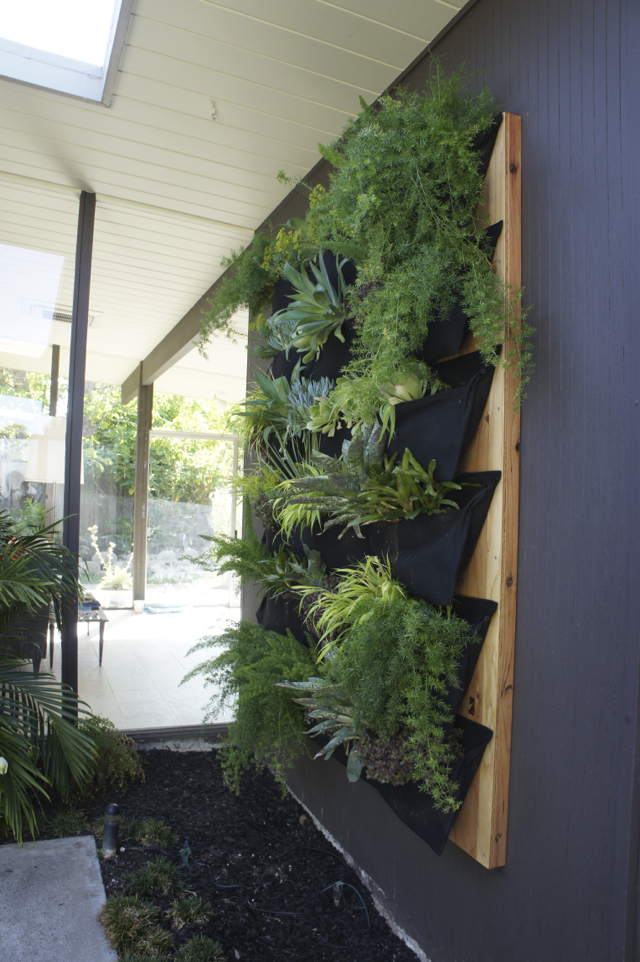
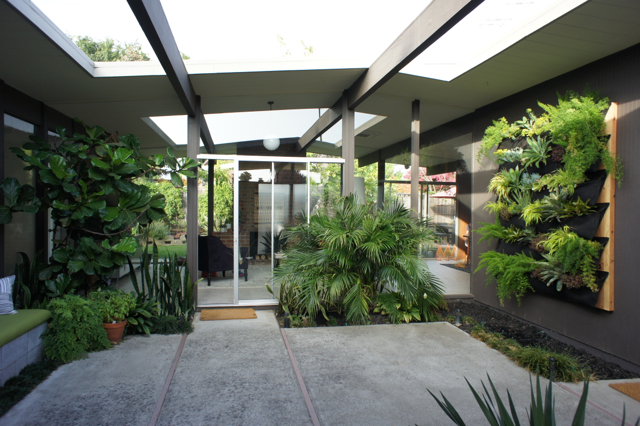
Hi friends! Finally the reveal you’ve been waiting for: our living wall! I’m so happy that it’s done, looking so lush with lots of pretty plants, and, did I mention that it’s done? Yeah!
What do you think? I think I am in love with it.
Let me back up a bit to give you the details of how we built this, in case you’re interested in constructing your own. To start, I wanted to create a wall that would not damage our rather precious and not terribly robust Eichler siding. This meant not having plants, soil, and moisture right up against the siding.
After some research, I chose to go with the Woolly Pockets since they have an impermeable membrane built into the pocket so moisture is contained. The pockets are designed to mount directly to a wall, using wall anchors or screws. However, I didn’t want to put a million holes in our siding and have the weight of the pockets supported by the siding and wall anchors only. I needed something more sturdy that mounted to the wall studs. My solution was to design a backing board that would mount to the studs, onto which we would then attach rows of Wally Threes.
Here’s how it came together:
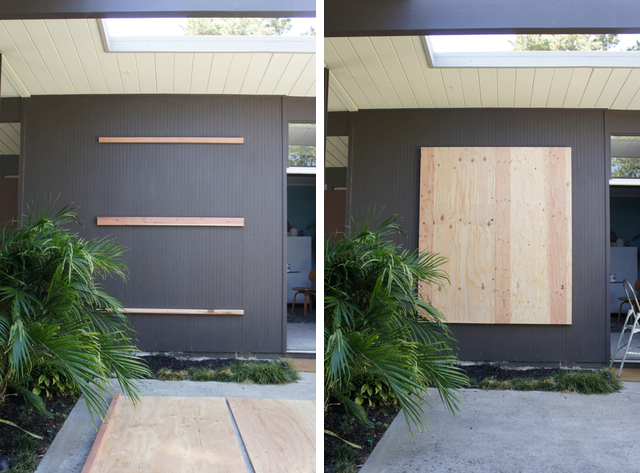
TADA! When I think back, it was almost that simple. Before things got serious, I used painter’s tape to convince myself of where exactly I wanted the wall to go:
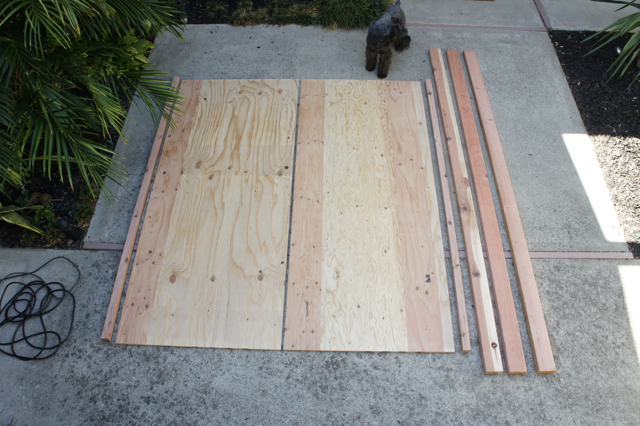
Basic materials included plywood (we used 5-ply, 3/4″ thick), 2×4 redwood lumber (nice dry stuff), and a whole lotta wood screws. The wall was to be 68″ wide by 78″ tall, to accommodate six Wally Three pockets.
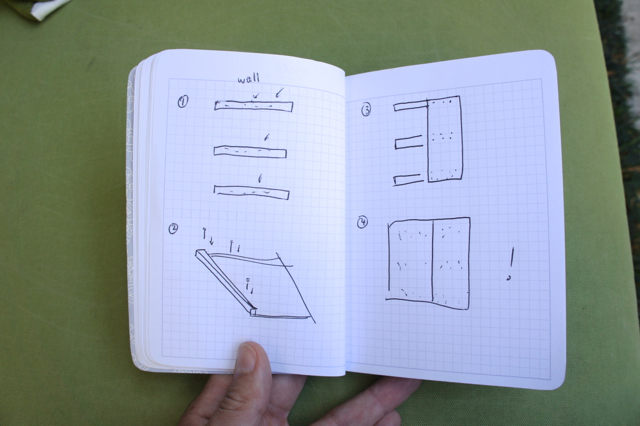
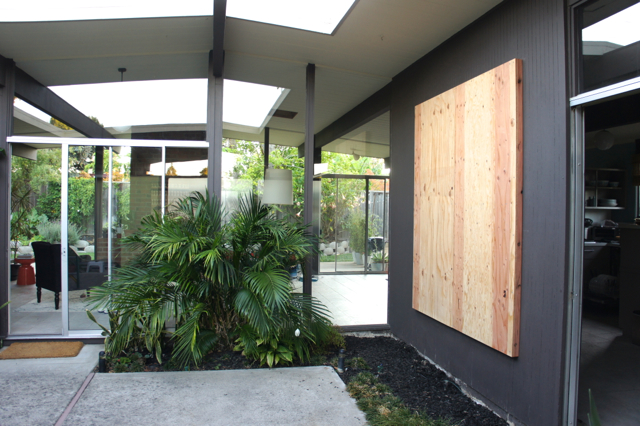
Given the size of plywood at the store, this meant we had two half-panels which we assembled to make the full backing board. The back was framed using the 2x4s, to give ample space between our siding and the board, and to accommodate a French cleat which was instrumental in getting the board up and attached to the wall studs.
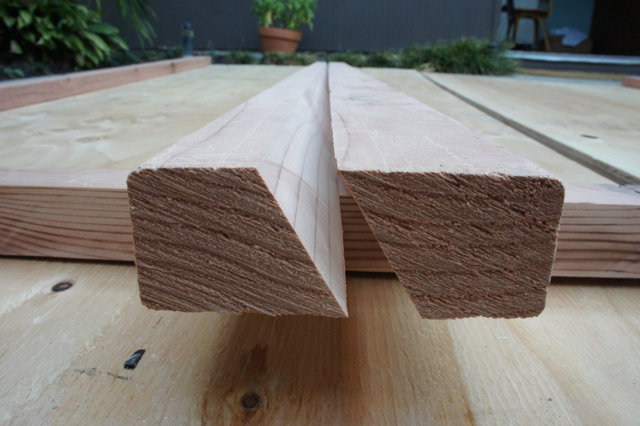
That cleat was magical, I tell you. And I may be in love with my table saw (Ryobi BT3000, which I bought second-hand!) as a result. The alternative to using the cleat would have been for one person (myself or my husband) to be holding up a giant piece of plywood whilst the other scrambled to drive screws through to hang it. Painful and totally not fun, I’m sure.
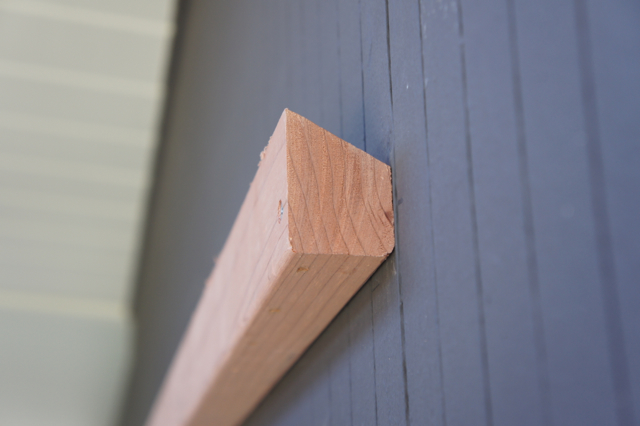
With the cleat, we just attached half of the cleat (pointy edge up) to the wall, driving 3″ screws through into our studs. We cut the other half of the cleat (pointy edge down) in half, and the two halves went along the tops of the plywood panels. Lift, hang, and behold!
To make things extra-secure, we did attach a 2×4 in the middle of the space behind the wall, and drove 2″ screws through the plywood along the cleat and the 2×4. That thing is not going anywhere.
After mounting the backing board, attaching pockets, and running irrigation, we planted. And planted and planted and planted. I believe I visited no fewer than four nurseries in the past week, because I really wanted a wall that I loved. And when I said that I wanted ALL of the plants, I was not joking!
And so, I ended up using the following to fill the wall, mostly from Flora Grubb and my local Summerwinds:
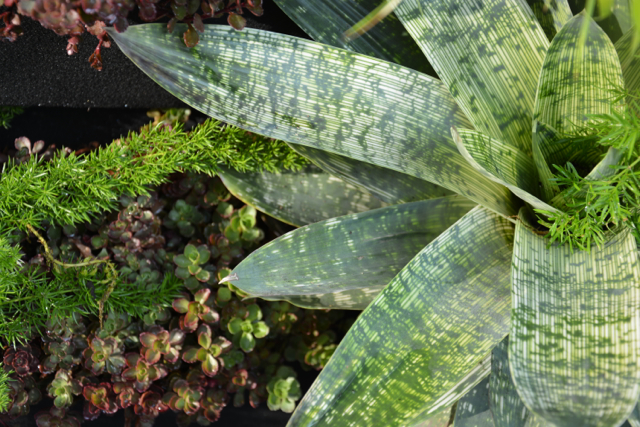
- Bromeliads (Vriesea Gigantea Nova and Tessellata)
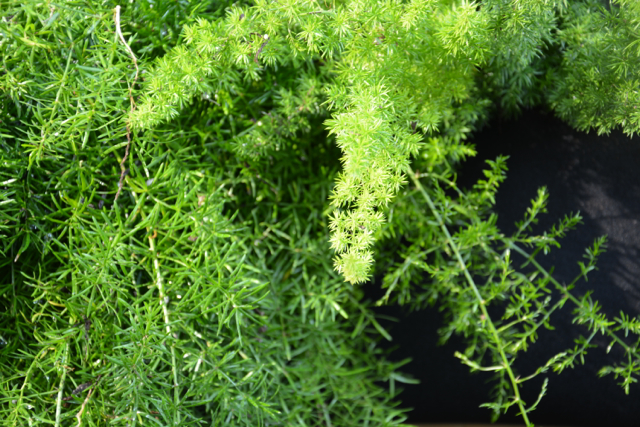
- Ferns (foxtail and Sprengeri)
- Stonecrop (‘Bronze Carpet’)
- Foxtail agave (Agave attentuata)
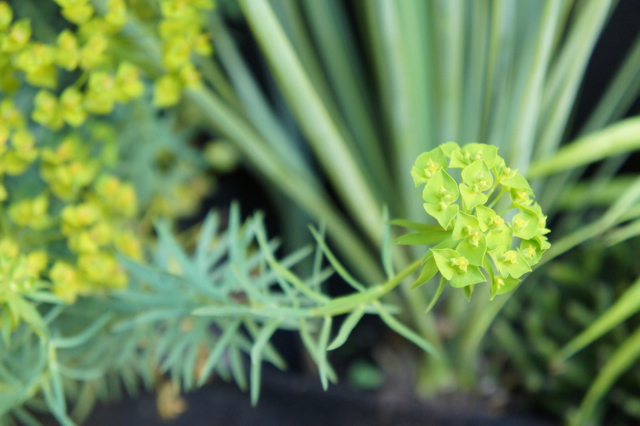
- Euphorbia (‘Dean’s Hybrid’)
- Echeveria (Hens and chicks)
- Senecio mandratiscae
- Japanese forest grass (Hakonechloa M. ‘All Gold’)
- Yucca rostrata
- Tiny mistletoe cactus (Rhipsalis ewaldiana)
(This is not in any way a sponsored post. And you can find my earlier post about planning this project right here.)
All photos by Karolina Buchner


