Browsing Category

hobby room

eichler hobby room interiors

new guest bedroom

December 1, 2014

I promised pretty things a while back. Here we go!

Untitled

We’re getting ready for a very exciting Christmas:  hosting David’s family at our house over the holidays.  It’s five people more than we’re used to, but I am thrilled to have our house a-buzz with festive fun and activity this year.  To make room for everyone, the hobby room is now a guest bedroom.

It’s been a while since I’ve had the chance to do a project like this, and I love how it turned out.  The room is fun, bright, and cozy.  My in-laws will be staying here, so I really wanted to create a space that they would enjoy and feel comfortable in, while keeping it super simple and fitting with the style of our house.

Untitled

Untitled

Untitled

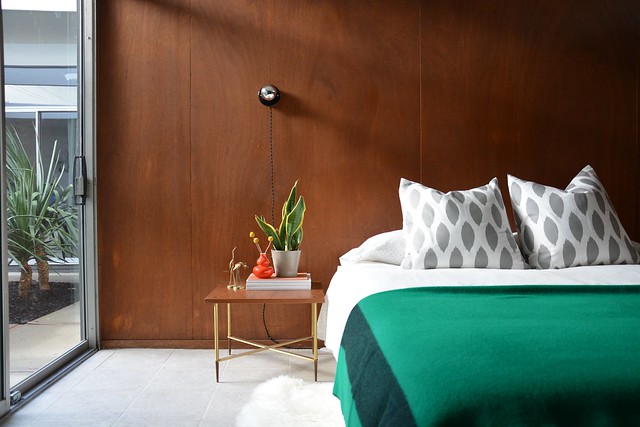
Nothing is precious, and since I have two more bedrooms to set up, I kept it quite budget-friendly for the most part.  The main splurge item was the green wool throw, from Schoolhouse Electric, which was the starting point for the rest of this look.  I bought new bedding and styled the rest with items from around the house, threw in a few sheepskins… and done!

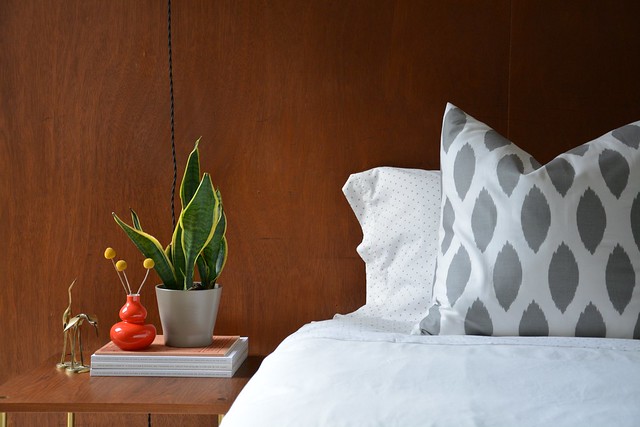
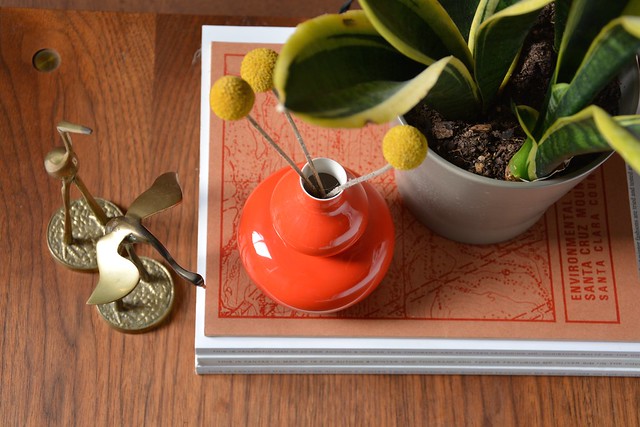
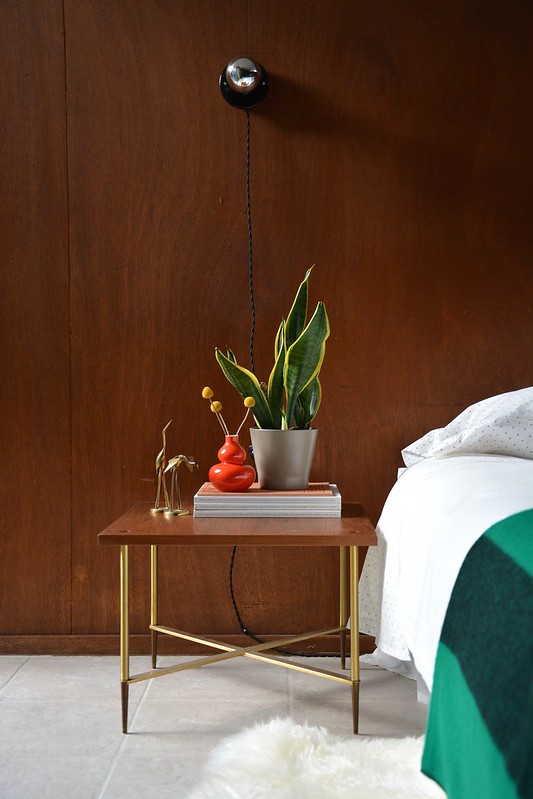
One of my favourite things in the room is this little table.  We’ve had it for a while, and I love the pointy brass legs.  I’m not sure of its lineage, but I’m thinking maybe midcentury Italian.  Any ideas out there?

Untitled

Here’s the view from the atrium.  So it’s not the most private room in the house, but I think it will work.  It looks quite cozy in the evening, looking from the outside in.

Untitled

Untitled

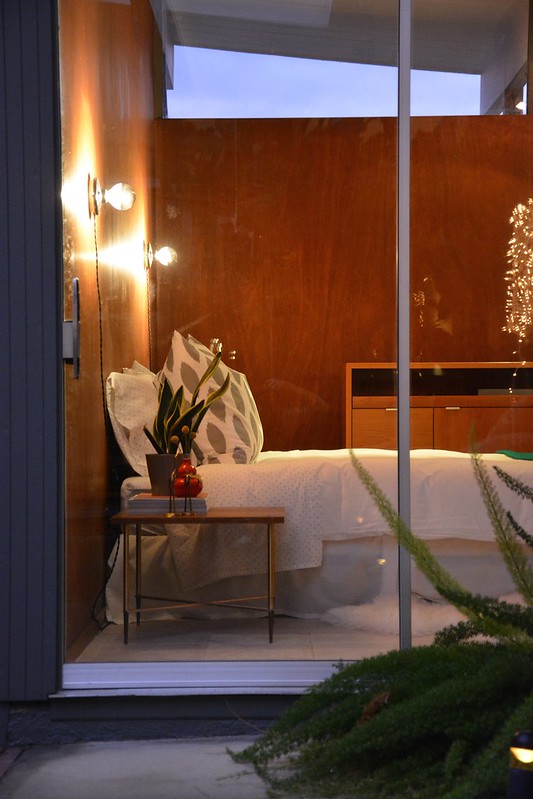
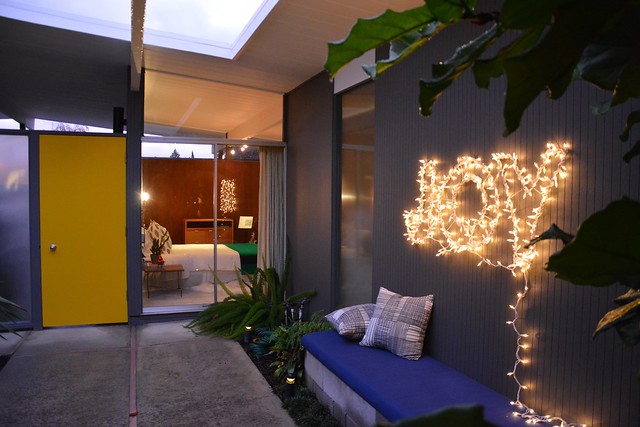
As a bonus, my guests get to admire the atrium Christmas lights before tucking in for the night.

I’m definitely feeling the JOY!  Are you?

Sources:
Grey ikat pillows – ElemenOPillows on Etsy
Polka dot sheets and pillowcases – West Elm
White DVALA duvet and sheepskins – IKEA
Kelly Green wool blanket – Schoolhouse Electric
Orange vase – available at Flora Grubb
Brass herons – estate sale find
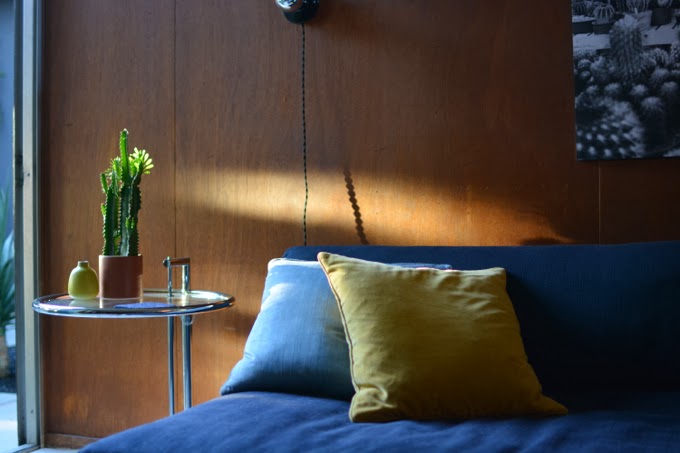
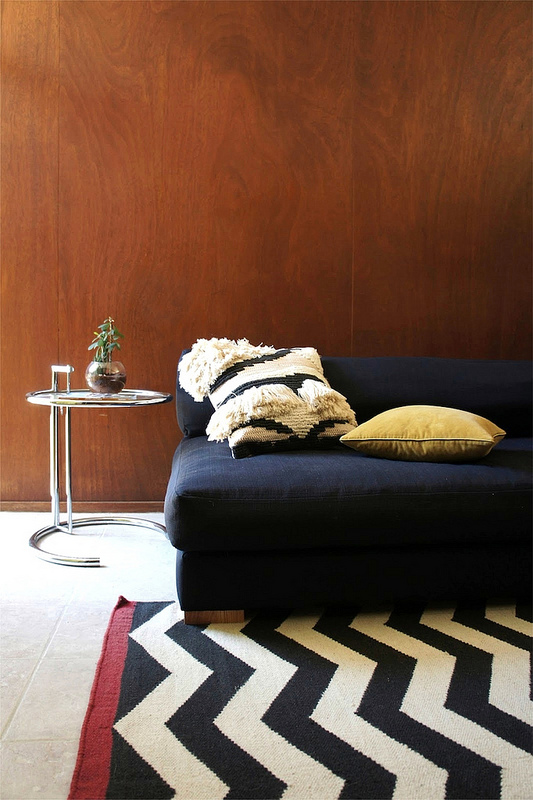
Teak side table – vintage
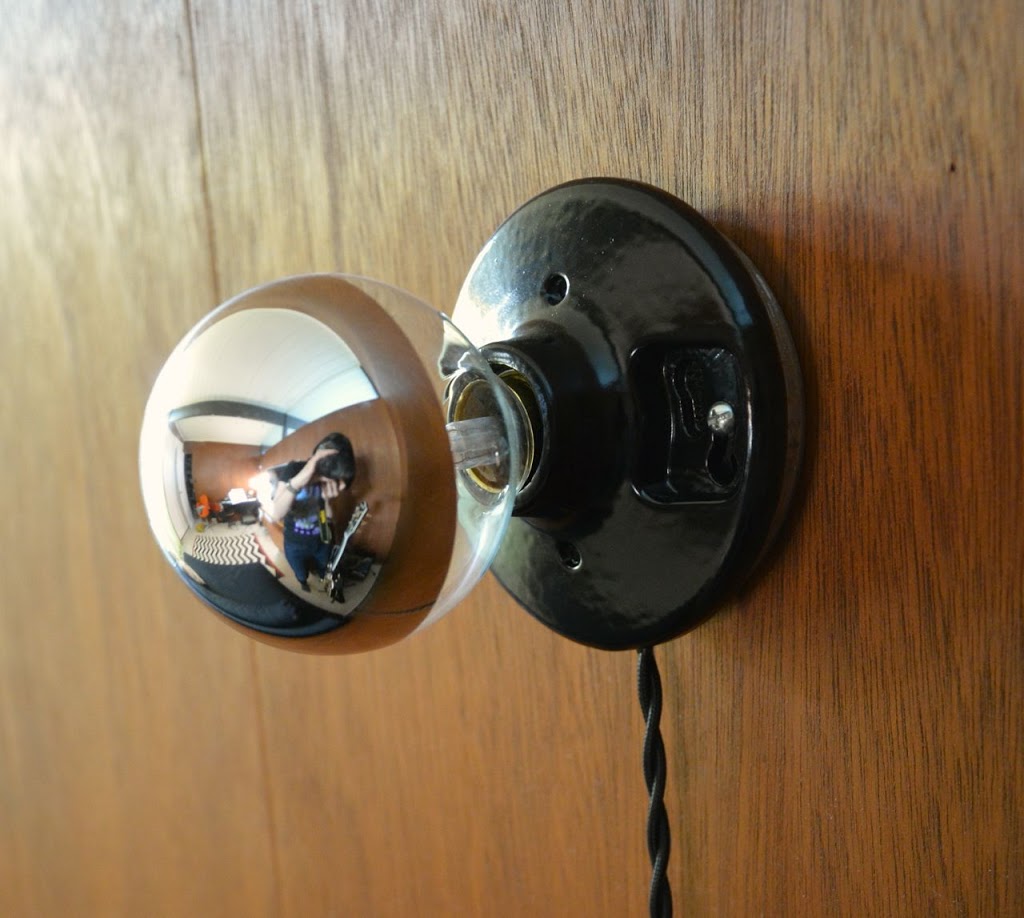
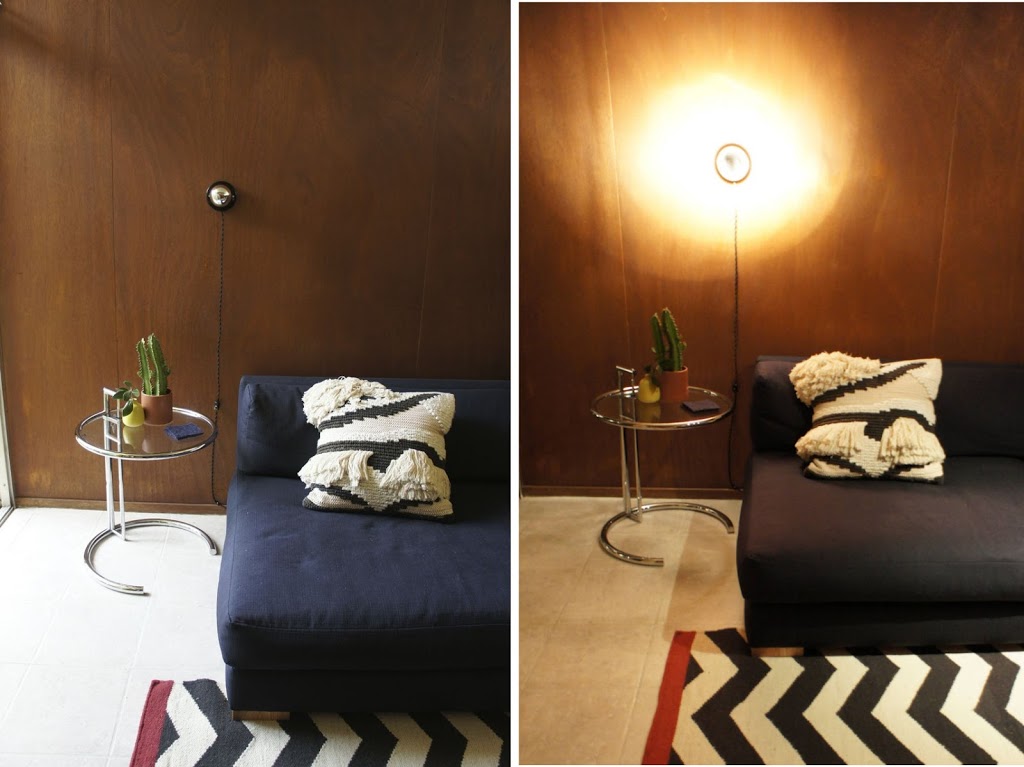
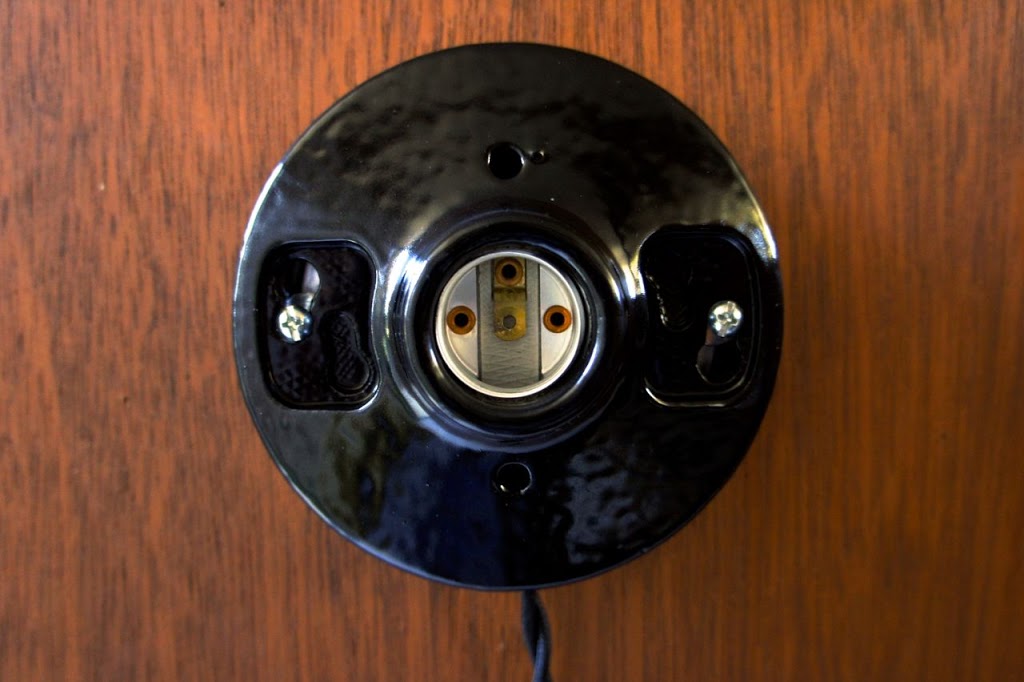
Sconces – our own creation
JOY sign – our own, you can find similar wire letters here and add mini lights

eichler hobby room house tour

our hobby room: a few updates

April 14, 2014

‘huntington’ print by laure joliet / late afternoon light / 1960s chrome eyeball floor lamp

Our hobby room is the one room in our house which has all of its original paneling.  The mahogany makes it the perfect cozy lounging room.  I’ve been adding things here and there (like the sconces we made a while back), but have yet to sort out the musical instruments and random video game system components.

In the meantime, I am loving this chrome lamp we got back in February.  We drove it all the way up to San Jose from Palm Springs, in the back seat of my car.

The Laure Joliet print which reminds me of the fantastic cactarium in PS.  I recently incorporated one of her photographs in my client’s home.  There is a certain sense of quiet about her images even though they have quite a lot going on in terms of texture.  I enjoy them immensely.

And, my new favourite things:  more ceramics.  That look like space aliens.

The blue vase is 1970s Italian (half-price score from Monument in San Francisco); the tall green is Jonathan Adler (last season, but I’ll call it ‘vintage’); the little green bud vase is Heath.  They have a certain late sixties feel which I quite like for our laid-back lounge room.  Like a lava lamp, but a heck of a lot more classy.  Yes.

diy hobby room lighting projects weekend

weekend project: sconces in the hobby room

March 27, 2013
wood paneled room

I’ve been trying to figure out what to do with this room for just about 2 years now.  It is starting to come together and I’m pretty excited.  You can check out the previous incarnations of my plans for it here and here, … oh and here!

I love the mahogany walls.  But they make this, hands down, the gloomiest room in the house.  Those walls = love + gloom.  SIGH.

To try and bring the 2+ years of over-thinking to a close, I did seek professional help whilst attending AB Chao’s Dewit Design Camp last year.  AB very helpfully suggested sconces on either side of the sofa.  And since this is going to be a man-cave no matter what, we decided it had at least be a very well-lit man-cave.  I’ve been hunting and scheming ever since.

My first attempt back in January involved George Nelson Bubble lamps since I wanted maximum un-gloominess.  They were pricey and very, very pretty but they were just… not…. right.  Not enough light and weirdly too large for the room.

I think I knew all along.  What I really wanted to try were silver-tipped bulbs in super-simple sconces.  Like these from The Brick House.  Or perhaps a bit more sleek and modern, like the Artemide Teti in black, which turns out to be really hard to find.

I was worried that the sconces might just light up part of the walls, which absorb all light like giant, mahogany sponges.  However, with DWR refund now in hand, I figured I could do this for much less than the Bubbles, and make them custom.  Custom = so much more fun!

light fixture on wall

Cute, right?

They may be wee, but they are bright.  And I am quite happy with how they turned out.  They fit in really well with the aesthetic of the room.

light fixture off and on

Here are the goods required:

supplies to make the lamp
(Clockwise: cloth-covered cord, silver-tip bulb, offset plug, on-cord switch, back
 plate, ceramic lightholder. Maybe $50 total. I think the bulb was the priciest thing here, at $8.)

The offset plugs are great for plugging in behind the sofa, allowing us to push the sofa up against the wall without worrying about cords getting mashed, as they do.

offset plug detail

Of course, we triple-tested everything we wired using the multi-meter that Dave got for Christmas.  Because we are NERDS.

metal plate attached to wall

I drilled through the lip of the metal back plate (the hole is visible at the bottom).  With a regular drill, which required some patience/foolhardiness.  I kept it as just a hole rather than a notch in the edge of the plate, for reasons I can’t quite explain.  A notch would have made assembly SO much easier (no threading of cord through the hole).

Also, gloss spray paint on ceramic looks surprisingly OK:

ceramic socket attached to metal plate

Basic how-to:
  1. Paint.  I used spray primer and then with gloss black spray paint.
  2. Drill holes in the metal back plates to accommodate cord.
  3. Mount back plates to wall.  We used a laser level to make sure they lined up.
  4. Wire and assemble!*

I found most of my materials at the local hardware store and ordered some cloth-covered cord from Grand Brass.  The silver-tipped bulbs are from 1000 Bulbs.

*Disclaimer: I am not an electrician so assemble at your own risk. The ceramic lightholders are meant to be mounted on top of electrical boxes. I can report no electrical fires so far.

As a fun bonus, in the process of putting up the lights, I mocked up my whole vision for the wall using masking tape.  You really don’t need to see a picture of that since it was quite hastily done and very lopsided.  Trust me.  Upshot:  Now I know that I want a 4×5’ piece of art.  That should be both affordable and really easy to find, right?

While I ponder that, please enjoy this gratuitous shot of Winston appreciating the room, post-lamp-installation:

small dog on sofa

All photos by Karolina Buchner