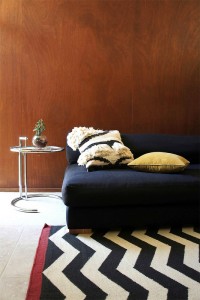
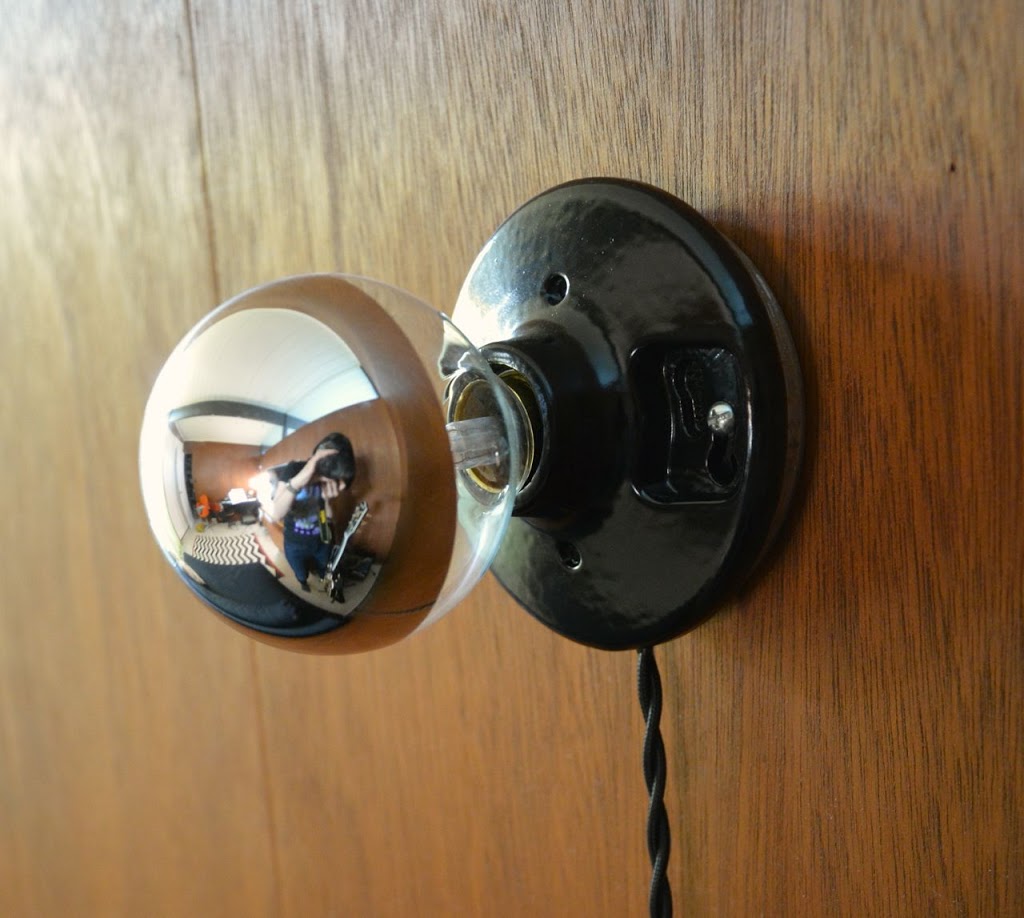
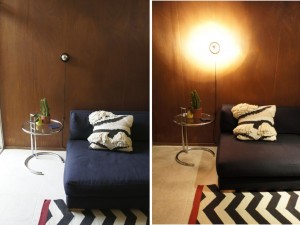
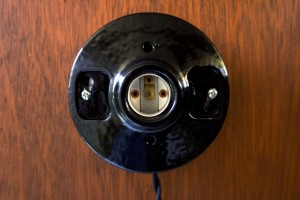
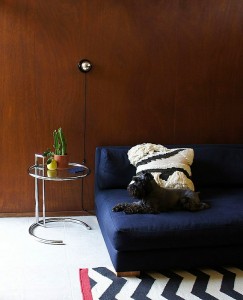
They may be wee, but they are bright. And I am quite happy with how they turned out. They fit in really well with the aesthetic of the room.
Here are the goods required:
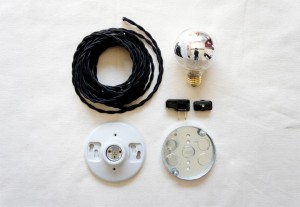 |
| (Clockwise: cloth-covered cord, silver-tip bulb, offset plug, on-cord switch, back plate, ceramic lightholder. Maybe $50 total. I think the bulb was the priciest thing here, at $8.) |
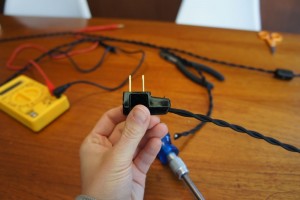
The offset plugs are great for plugging in behind the sofa, allowing us to push the sofa up against the wall without worrying about cords getting mashed, as they do.
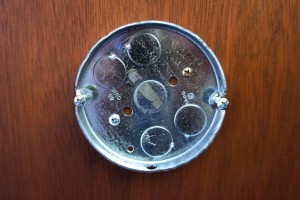
I drilled through the lip of the metal back plate (the hole is visible at the bottom). With a regular drill, which required some patience/foolhardiness. I kept it as just a hole rather than a notch in the edge of the plate, for reasons I can’t quite explain. A notch would have made assembly SO much easier (no threading of cord through the hole).
- Paint. I used spray primer and then with gloss black spray paint.
- Drill holes in the metal back plates to accommodate cord.
- Mount back plates to wall. We used a laser level to make sure they lined up.
- Wire and assemble!*
I found most of my materials at the local hardware store and ordered some cloth-covered cord from Grand Brass. The silver-tipped bulbs are from 1000 Bulbs.
*Disclaimer: I am not an electrician so assemble at your own risk. The ceramic lightholders are meant to be mounted on top of electrical boxes. I can report no electrical fires so far.
As a fun bonus, in the process of putting up the lights, I mocked up my whole vision for the wall using masking tape. You really don’t need to see a picture of that since it was quite hastily done and very lopsided. Trust me. Upshot: Now I know that I want a 4×5’ piece of art. That should be both affordable and really easy to find, right?
While I ponder that, please enjoy this gratuitous shot of Winston appreciating the room, post-lamp-installation:
All photos by Karolina Buchner

