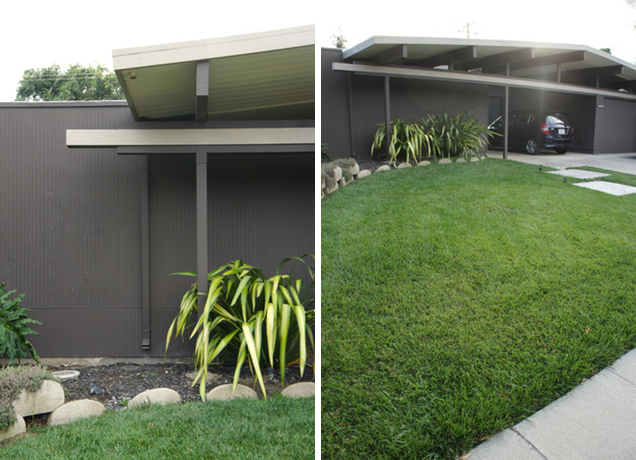
As I write this, Winston is laying beside me, (I think) exhausted from the weekend’s work. He worked very hard supervising everything, as pictured here in our front yard. We’ve been busy!
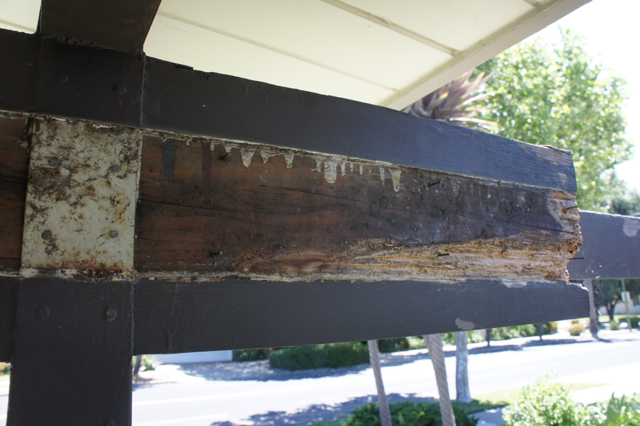
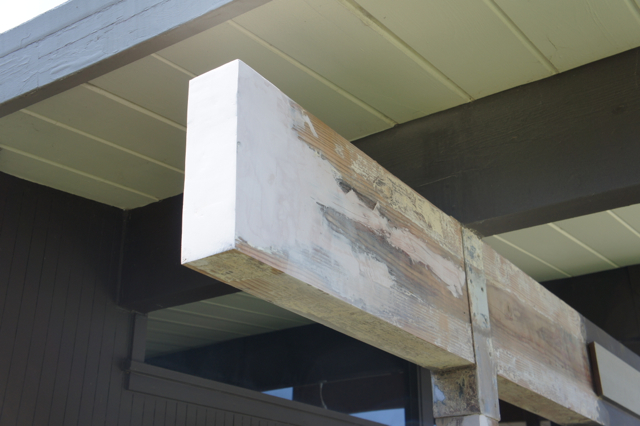
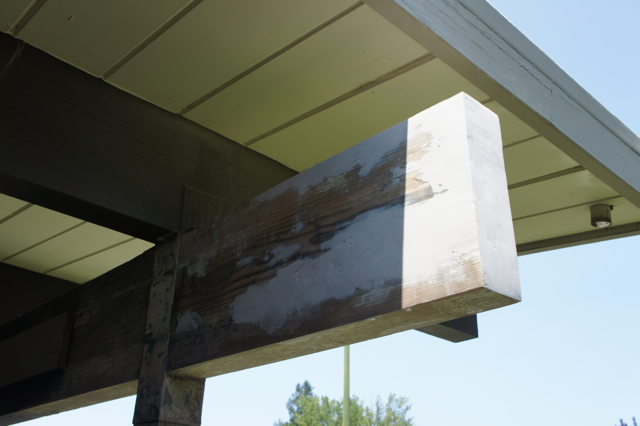
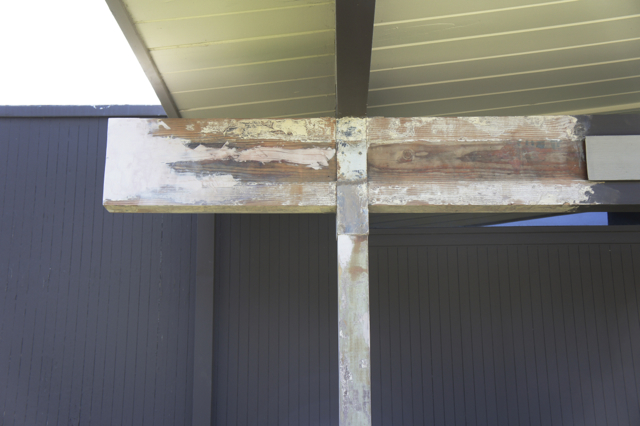
If you recall about a month ago, I posted about the horror of dry rot which we discovered had destroyed part of a beam on the front of our house. As a refresher, here’s what it looked like:
It still gives me the heebie geebies.
I’m happy to report that this weekend, we finally restored everything back to its original state. Hopefully, much better than its original state.
Let me walk you through the rest of the process here, which took us actually three weekends to complete. It’s a long one, so grab yourself a seat. And maybe a drink. An iced tea would be appropriate.
Weekend 1: Epoxy, sand, more epoxy!
As I mentioned in my earlier post, the product we used to fill in the rotten areas was a 2-part epoxy filler. There are various products available, the most common being Bondo, which we used. You can find this at big-box home improvement stores and auto repair shops. Guess where it retails for less.
It’s pretty weird stuff to work with. You have to work in batches by mixing a small amount of hardener (which comes as part of the kit) with the epoxy material, and then apply it before it sets up. We found it lasted almost exactly 3 minutes before turning to rubber and becoming unusable. Also: it smells pretty toxic. We wore gloves when working with it and were outdoors in the fresh air.
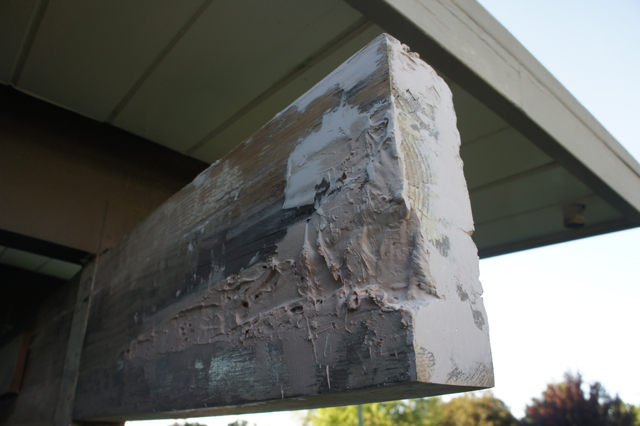
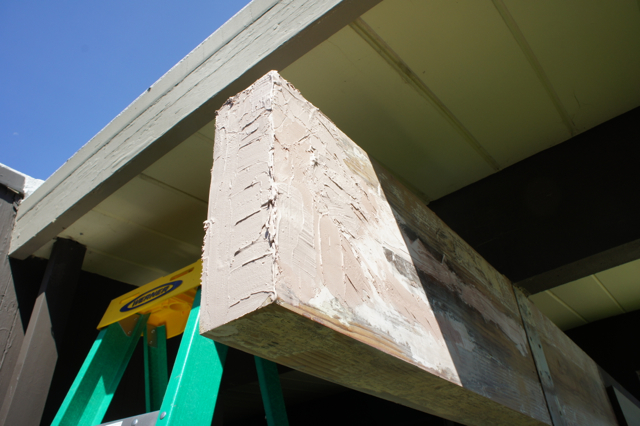
We worked building it up layer by layer:
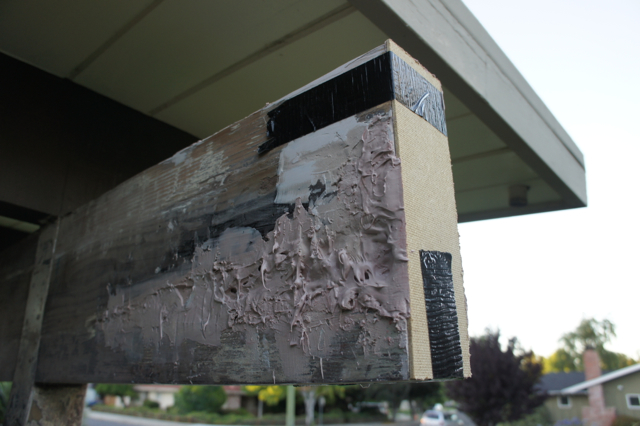
It was necessary to sand down the bumps every layer or so, in order to more easily apply the next layer and to make sure there were no air bubbles or crannies left. We taped a piece of hardboard to the end of the beam to help us form better edges.
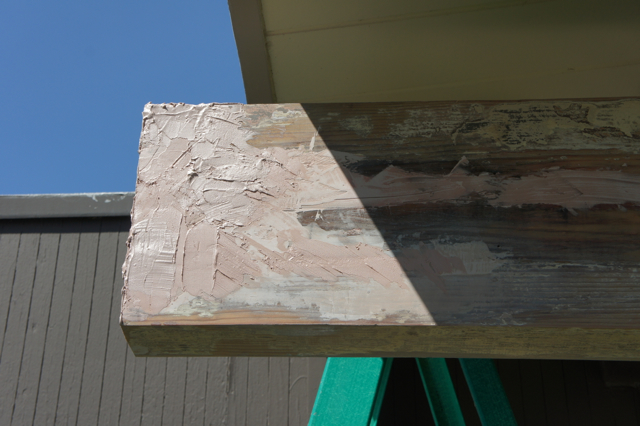
Finally, after using about a container and a half of epoxy, we applied the last layer. I tried my best cake-icing technique here:
Then, we took a sander to it, and BAM. It looks like a beam again!
The Bondo was really quite easy to work with once we got the hang of it, and it sanded to nice, sharp edges. One strange thing is that it has a sticky skin even after it’s fully dry, which freaked us out initially, thinking it hadn’t cured. But, after sanding, it was fine. I would definitely use it again for jobs like this one.
Weekend 2: Cut new trim, nail it up, and fret about things not being square!
We considered re-using the original trim (made of redwood!) but sadly it was in rough shape and rotting in a few places too. So, we ended up purchasing new trim at the hardware store. We took exact measurements of the old trim and cut new pieces. This involved chiseling out part of the back of each trim piece to accommodate the metal brace you can see on the pillar above. Here’s to developing new wood-working skills!
We felt pretty good about making the new trim until we put it up and realized we couldn’t make the end piece line up with the trim. AT ALL. It turns out that nailing trim up is the most inexact method of attaching it to your house and we puzzled over this for a long time. Also, I imagine our beam and trim weren’t perfectly straight either. Sadly, I don’t have pictures, we were that absorbed by this conundrum.
It wasn’t until after our vacation that we solved it.
Weekend 3: Pull trim off, re-attach, seal, prime and paint!
There was a lot of brainstorming this weekend. On Saturday, we actually (carefully) ripped off the trim on the back of the beam. Then we nailed the end cap to the front trim, by first partially driving nails through it, then having multiple hands hold it while hammering.
Once that was in place, we attached the back trim with a screw. Lined it up with the end cap, and fixed it in place with a second screw. We then nailed it and the end cap in place completely and removed the screws, applied wood putty over all the nail holes and called it a day!
On Sunday morning, we caulked all around where the beam and the trim met. I sanded down the wood putty and then primed the whole thing:
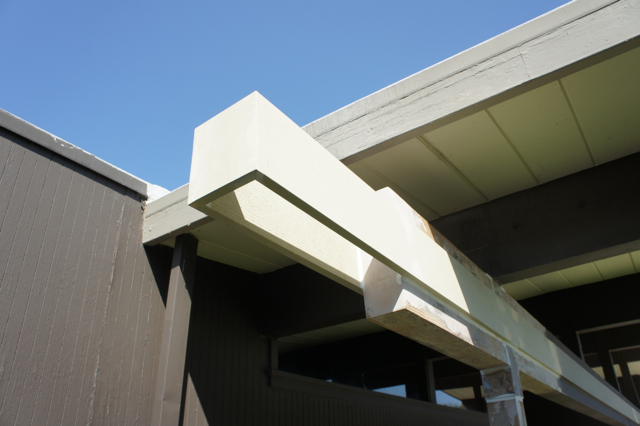
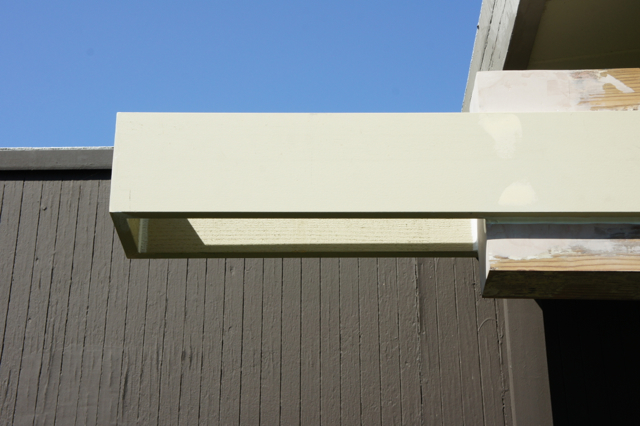
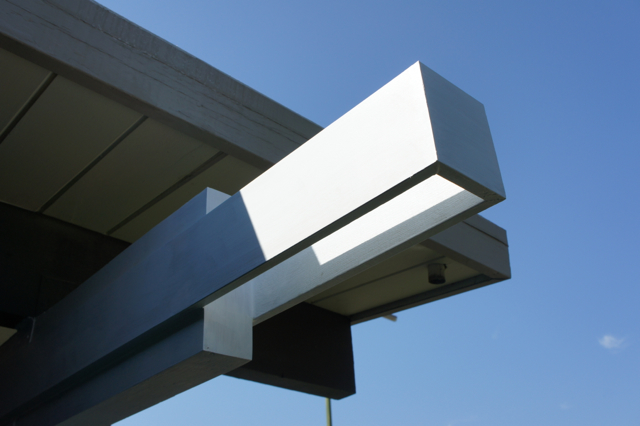
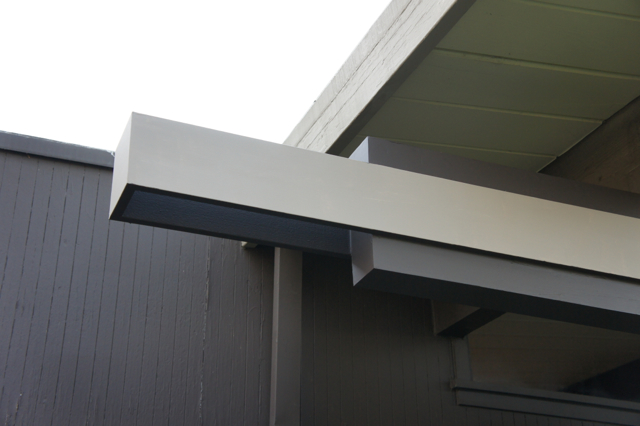
Then painted. This was the most exciting part: our house was BACK!
Yeah!
Everything is back in place and looking great. Though I think it just inspired us to pick at all the other beams, patch them with epoxy, and replace the siding. Wouldn’t it be great if everything were as crisp and freshly-painted as this beam and trim?
But just for now, perhaps it’s time to pause and enjoy some fluffy, happy clouds and pat ourselves on the back.
I need to catch my breath a little, before the next project.
To see where we started, check out my post: beam repair, part 1.




No Comments